One of the most important new features introduced in the Windows 8.1 update was the full integration of Microsoft’s cloud file storage service with the operating system. Although the point of it is to save user preferences, you can deactivate most of the SkyDrive (now OneDrive) sync options if you don’t need them.
Besides default cloud file-hosting, Windows uses this service for many other things, such as storing your preferences and operating system settings to have them available on all the computers you connect to. In addition, it’s integrated with the file explorer and runs by default in the background as you do all these tasks. But with the following steps we can completely disable it.
Step 1: Stop file-synching from the settings menu
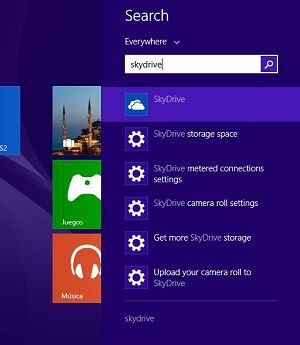
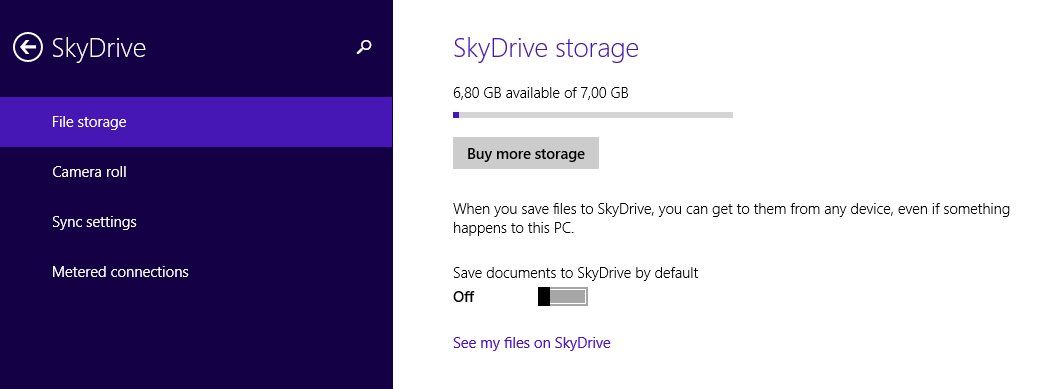
In the Windows 8 Metro menu, if you type in “SkyDrive” you can access its settings menu by clicking on “SkyDrive storage space”. In each of these sections you can customize all your sync options, such as disable the default use of the service, automate your photo album synching, or limit how your machine connects to networks to perform syncs.
Even if you’ve disabled all of these options, you’re still far from shot of SkyDrive, meaning you’ll have to go on to make a series of additional, rather more complicated changes.
Step 2: Delete SkyDrive from your file manager
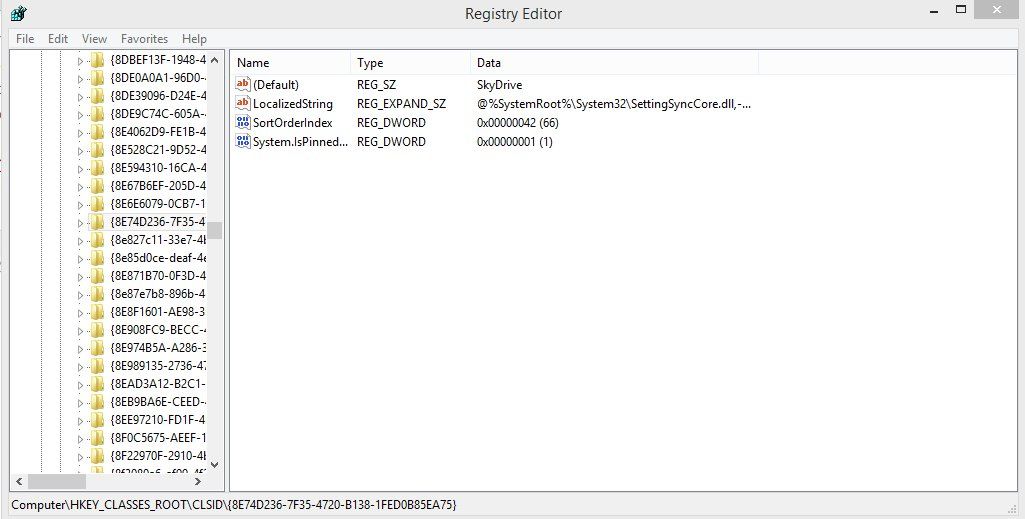
In the left navigation bar in Windows Explorer, alongside your computer’s multimedia folders, Favorites, and network computers, you can see a permanent button for SkyDrive. To remove it you need to go to the Windows registry editor, which you can access by typing “regedit” in the file finder. Next, you have to manually access the filepath below:
HKEY_CLASSES_ROOT\CLSID\{8E74D236-7F35-4720-B138-1FED0B85EA75}\ShellFolder

Then, right-click on the folder ShellFolder and you access the Permissions options. Once inside, you need to click on the “Change” button at the top alongside the “Owner” field. There you need to type your username followed by “\Users”. For example, if your username is Anthony you’ll need to type “Anthony\Users” in the field.
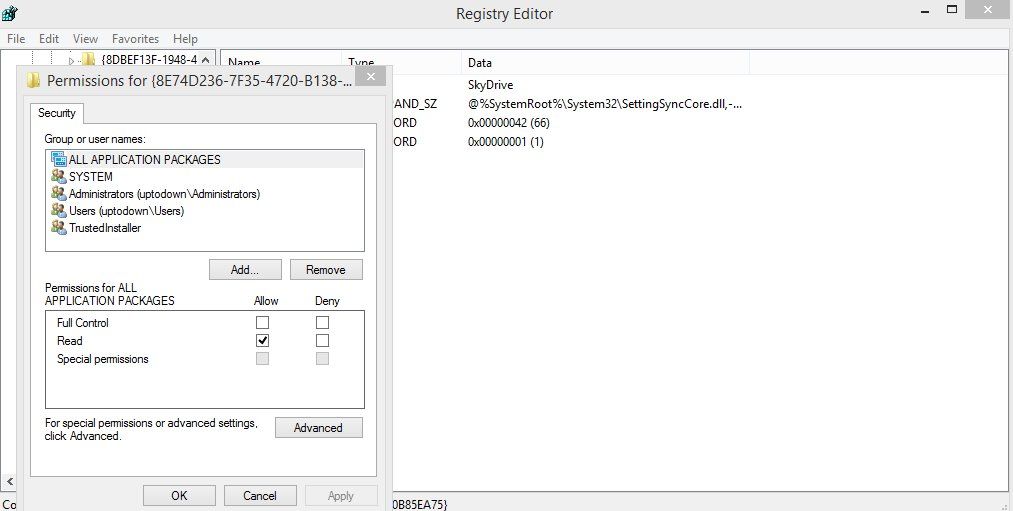
That done, you can tick the “Total Control” box for your user in order to be able to make changes to the registry keys included in that folder. Now you’re going to apply the changes you’ve just made, go back, and double-click on Attributes. There you’re going to change the value in the “Valuable information” field to zero. After restarting your computer, SkyDrive will have completely disappeared from your file manager.
Step 3: Completely eliminate SkyDrive integration
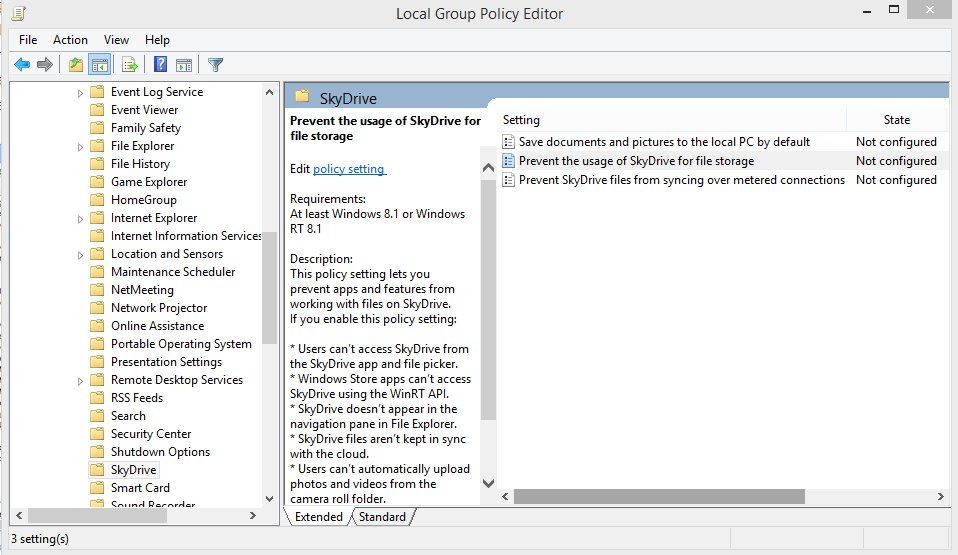
Despite having done the previous two steps, SkyDrive will continue to function in the background and you will still see it in your desktop notifications bar. Unfortunately, to completely rid yourself of the program you’ll need to have Windows 8.1 PRO, since the Local Group Policy Editor is only available in this version.
You need to type in “gpedit.msc” and you access to Local Computer Policy > Computer Settings > Administrative Templates > Windows Components. There you double-click on the SkyDrive folder and enable the option “Block the use of SkyDrive to store files”. That done, you don’t even have to restart your computer, as the changes will go into effect immediately. Microsoft sure hasn’t made this easy for us!
")


+10