Living room multimedia players are basically a must in most homes these days. Some people use external hard drives, others turn to Android devices, and veteran techies try their hands at microPCs like the Raspberry Pi, but there are lots of other ways to set one up. Remember that old netbook you bought half a decade ago that’s been collecting dust in your wardrobe for years? It might be the most economical option for setting up your own powerful media center. Here we explain how to do it, step by step.
How much energy will it use if I leave it on all day?
If you always want to have your Media Center at the ready it might be a good idea to leave it on at all times or arrange it so you just have to change the image source on your TV to have your player available. We’re going to aim high here and suppose that you’ll keep it on permanently (which you probably won’t) and at full performance (which you also probably won’t).
If you look at your laptop charger you can easily calculate its watt consumption and multiply it by the current price per kilowatt-hour from your electric company. If you can’t find the watt value right on the charger’s label (a number expressed in ‘W’ that can range from 20 to 200 in the case of a netbook or laptop) you can calculate it yourself based on the intensity of the current and voltage output it supplies.
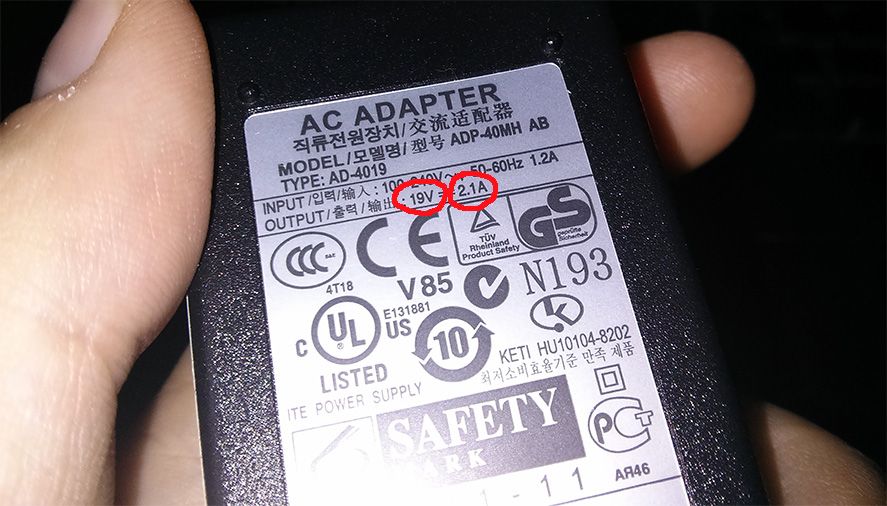
In our case we managed to find the numbers easily, with a voltage output of 19V and an amperage of 2.1A. As electrical power is calculated with the formula P = V * I, we’ve got P = 9 * 2.1 = 39.9, which we’ll round to 40W per hour. The price per KW/h will depend on the rates of your electricity provider. In Spain it costs 13 cents. To adjust the unit of measure to the one we need we’ve got 40W = 0.04KW, which we’ll multiply by 24 hours and 30 days to get a max cost of €28 per month.
Now, not even your PC always consumes the maximum current nor will this be turned on all day, since you can, if you don’t want to shut it down, put it on sleep for a certain time. In other words, if you REALLY only run it a couple hours a day, you’re probably not going to pay more than €3 per month, practically the same as, for example, a Raspberry Pi Model B connected 24/7. Not bad, right?
Step 1: Install KODI/XBMC
You have several options here. Whether you have Windows or a light Linux distribution, XBMC has versions for both operating systems that can be easily installed, but if you’re only going to use the netbook as a media center, it might be a good idea to install Kodibuntu, a Kodi-focused Linux distribution that automatically runs the program on startup and that uses all your hardware resources for playback as it doesn’t need to run a heavy desktop interface.
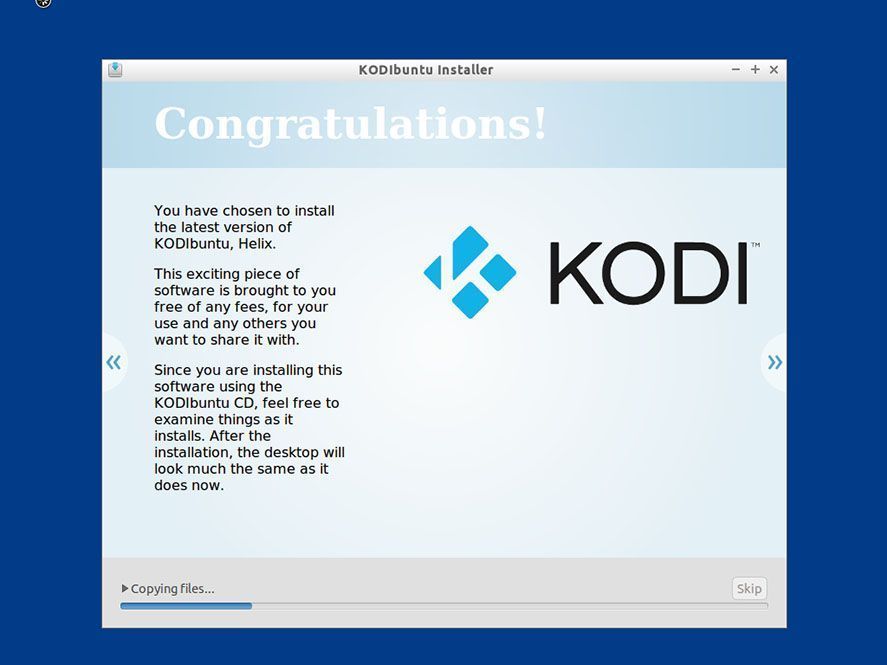
To install Kodibuntu, given that most netbooks don’t have a disk drive, you’ll have to do the installation based on a USB drive. We’ve already explained how to use LinuxLive USB Creator, a wizard that lets you run the system installer from a pendrive containing the ISO of the operating system in question. See how to do it in THIS TUTORIAL, although before you start it’s worth reading the bit in the next point (*) about compatibility with external monitors.
Step 2: Connect the netbook to the monitor
The oldest netbooks have a VGA connector to use an external screen, while models from 2009 onwards in many cases include an HDMI output. Both Linux and Windows have their own screen wizards that you can configure easily, but it’s worth mentioning a couple of things. The most advisable thing is not to extend your screen, but use the external as the only one. Thus you’ll avoid having two screens running with an unnecessary clone of one or an expanded desktop (this beside the fact that you certainly have no interest in sticking yourself with a screen resolution of a little over 10 inches).
(*) If you use Kodibuntu the adjustment will be automatic, although you might find that the screen size is not detected correctly. To solve this problem, most netbooks usually have an automatic keyboard shortcut for that purpose when you press FN, and according to this Reddit thread you can also solve the problem by changing the image output source during the installation process.
Step 4 (optional): Run Kodi when you start your netbook
If you’ve installed Kodi on Windows instead of using Kodibuntu you might want to make it run automatically when you start your netbook. To do so you can add the program to the Windows start menu as you would any other program via MsConfig.exe in the Run menu or with this custom launcher for Windows 8.1 if you use that version.
It might be a good idea to get rid of excess stuff on your netbook if you want video to play fluidly at 1080p, especially considering that computers from the last decade had just 1 GB of RAM and low-power Intel Atom processors, meaning you can get rid of your antivirus, automatic system updates, and anything else you won’t need from your memory. The CCleaner tool is a good way to do a clear-out for this sort of thing.
Step 5: Plugins, connection to your network, and synching your library
From here any tweaks you make to the setup will be the same as you’d normally do on Kodi and will let you expand and improve your user experience. Here are a few tips to leave everything perfect:
- It could be super annoying to use your netbook’s keyboard and trackpad to browse the application, meaning it might be a good idea to use Yatse, a complete Android app to turn your smartphone into a remote control for Kodi.
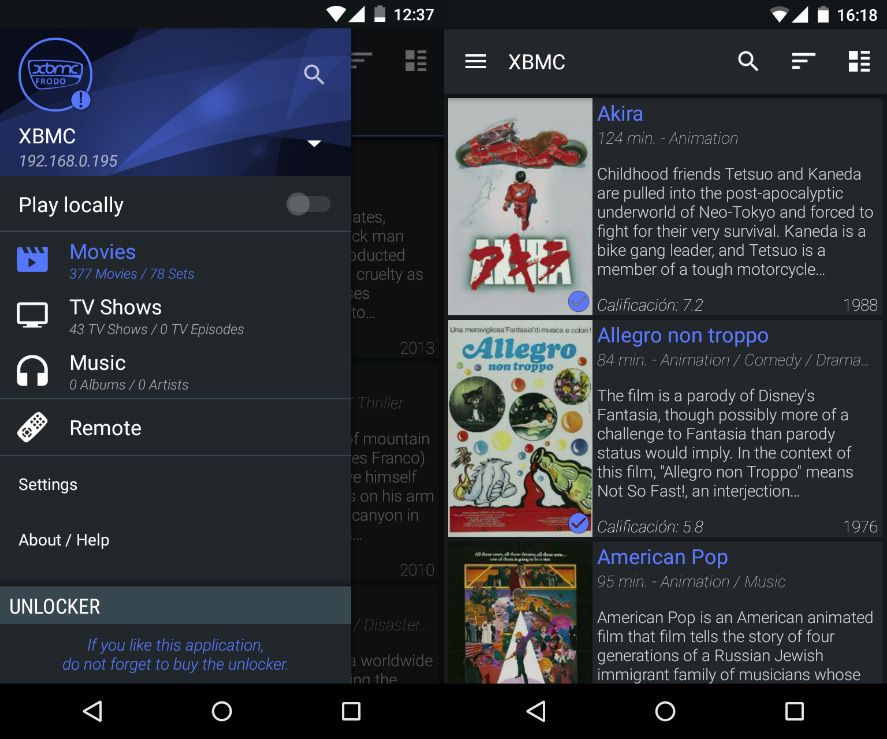
- With your netbook’s precious USB ports, you can use an external storage unit to hold your films and TV shows in addition to the space on the netbook itself. Or you could easily share drives from other machines connected to your local network and even use your router to share network space, as we explain in this tutorial.
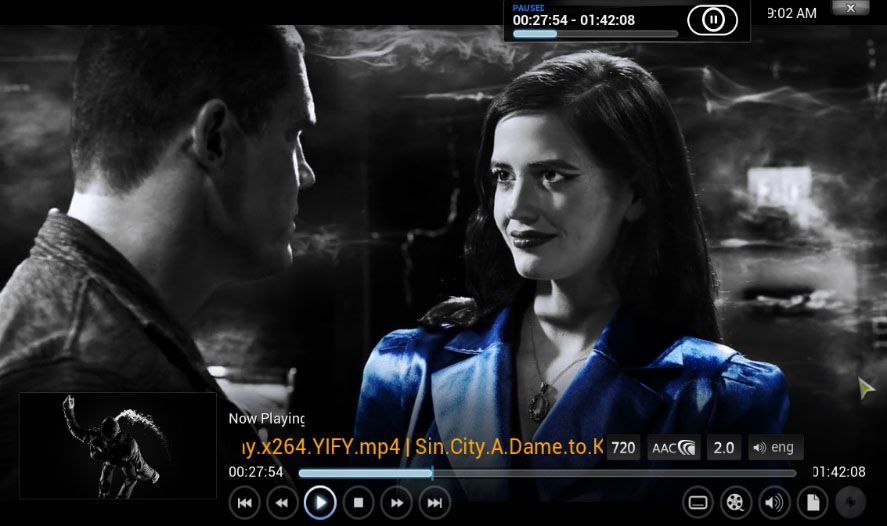
- Best of all, don’t forget that you’re using a proper PC with potential that, although rather limited in terms of running ‘modern’ software, could serve among other things as an emulator without even having to go out of Kodi, as it allows you to install modules and external plugins that expand its functionalities. We’ve already talked loads here on the blog about the number of things you can do with Kodi: use it as a YouTube video player, subtitle searcher, player for torrents streamed in real time, satellite TV channel manager… a lot of things going for it, right?



Mamad ibirahim
By coincidence I have been trying to turn my Netbook into a media PC 2 weeks ago. I’ve been using Ubuntu with VLC player and have been running into a lot of stutter and frame freezing problems. Has anyone been successful using Kobibuntu on a Netbook playing DVD quality movies?
I’m getting choppy video on my Acer aspire one d250. How do you get past that? Thanks
your calculation of 28E/month is absolutely wrong.
0,04kW *24h* 30 day=28,8 kWh, not 28Eur
then 28,8kWh * 0,13E =3,744E/month
and you should use not windows or linux, but fastest kodi.
OPENELEC or LIBREELEC.
this system boots on dual core procesor direct into kodi(xbmc) in about 20s.
Are you serious? OpenELEC and LibreELEC are both linux. Dumb shit
I have been trying to turn my Netbook into a media PC 2 weeks ago. I’ve been using Ubuntu with VLC player and have been running into a lot of stutter and frame freezing problems. Has anyone been successful using Kobibuntu on a Netbook playing DVD quality movies?