We’ve talked before about the Raspberry Pi, a low-cost microcomputer that, among other things, lets you turn your TV into super-complete multimedia center by connecting your screen to the device with an HDMI cable. One of the best ways to do this is to install Kodi, perhaps the best free multiplatform media center out there. In this tutorial we’re going to explain how to install OpenELEC (an operating system dedicated exclusively to Kodi) on a Raspberry Pi.
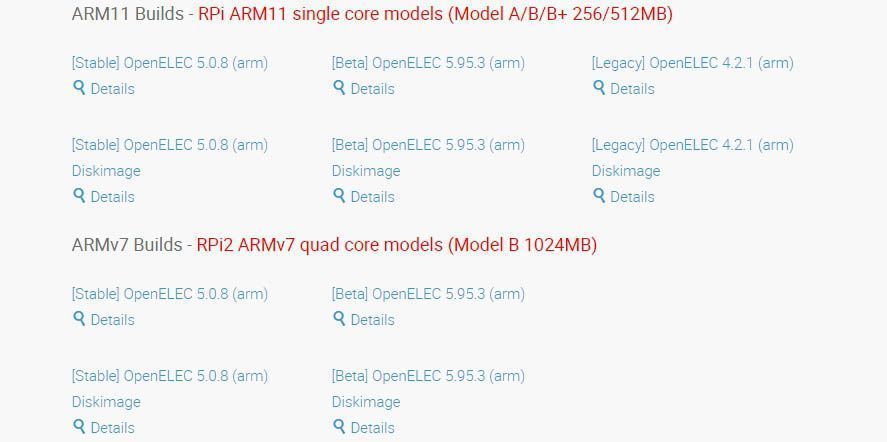
- The first thing to do is download the latest version of OpenELEC from its official webpage. Scroll down on the linked page till you find the section for Raspberry Pi, where you’ll see two modes depending on whether you have version 1 or 2 of the device. In the section for your model you should choose the latest stable version in the Diskimage variant, as we’ll need this format to install the software on an SD card.
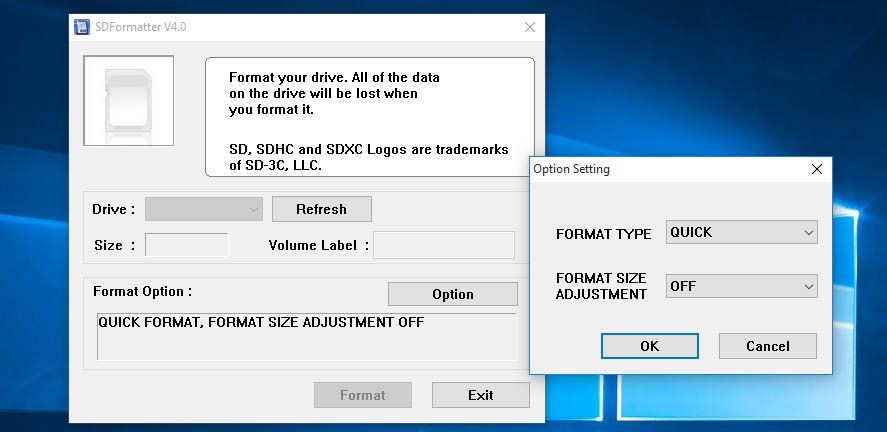
- Now you’ll download and install the SD Card Formatter, a software the lets you get the device’s SD card into the proper format. When you open it, with the card inserted into the PC, select the unit where it’s found and within the Options section set Format Type to Quick and Format Size Adjustment to Off. That done, press the Format button and in a few seconds it’ll be ready.
- Now we’re going to prepare the OpenELEC image downloaded in the first step. The file comes compressed in gzip format, so you’ll need to unzip it to get the .img file it contains. If you don’t have a file unzipper, the indispensable WinRAR could be a good option.
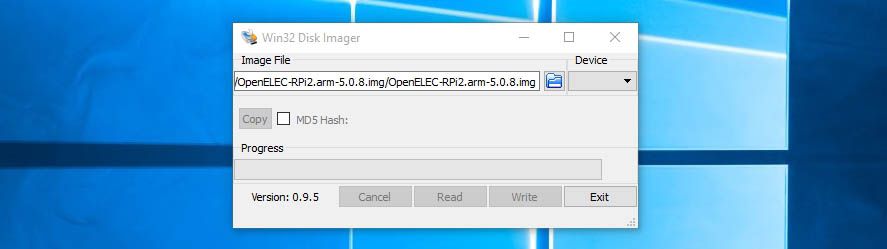
- The next thing you need is a program to copy the image to the card, concretely Win32 Disk Imager. Once installed you’ll open it and select the .img file in the Image File field and SD unit from the Device drop-down pane. Click Write, then Yes, and wait for the image to burn.
- Now extract the card and insert it in your Raspberry Pi, ensuring you’ve connected your keyboard and mouse to the USB port, as the first time you run the OS you’ll need to set up certain aspects. If once you connect it you don’t see the Kodi graphic interface on the screen and instead you get a command line, type in start and the press Enter. If everything’s worked properly the media center should start.
From here there are lots of things you could do, with the main ones being to configure the WiFi and local network in case you want to send files from other machines (although you can do all this from the startup wizard). If you’re going to connect an external hard drive to the Raspi (which we heartily recommend), you can set up default folders to store your movies and TV shows, and even get it to automatically extract film information from web databases like IMDB or Filmaffinity. This feature and many others can be installed from System > Settings > Add-ons.
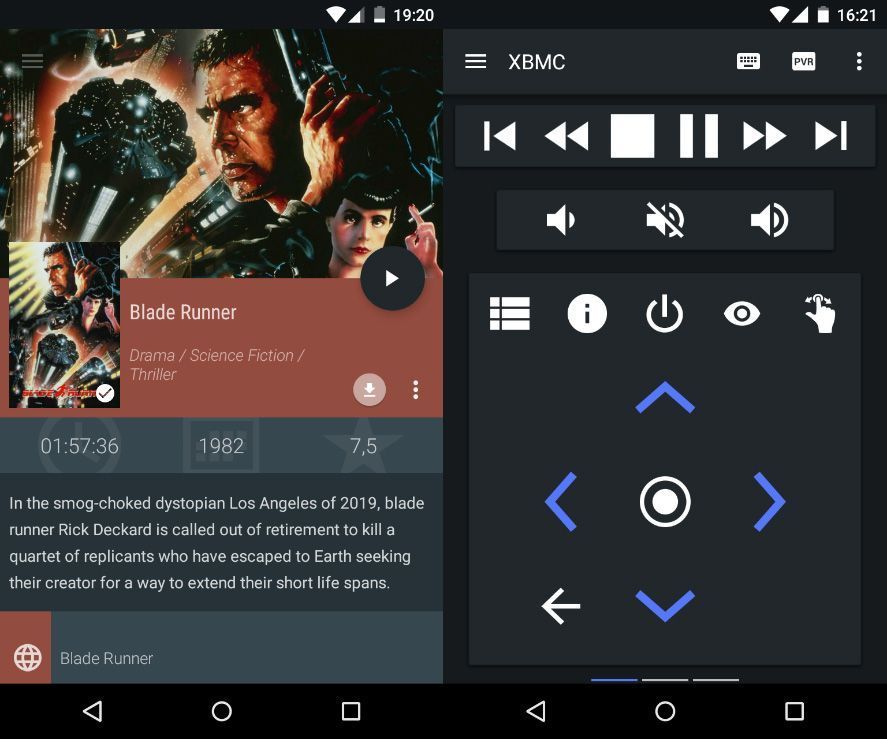
Although it’s easier to use the mouse and keyboard to set everything up, later you won’t need them, as if your TV supports the standard HDMI-CEC you can use your remote control to navigate all the menus. If not, you can always use external tools like Yatse, which lets you do the same thing with your Android device.