
Since the arrival of TikTok, posting short videos has become a trend. Other social networks have copied the format of Bytedance’s app— which has also boosted the market for video editing applications. Nowadays, there are more and more apps of this type and, above all, more complete.
We have already told you about CapCut— the video editing application from the creators of TikTok. This tool is taking the world by storm for two reasons. The first is that it allows you to edit almost all the parameters of your videos from a simple and easy-to-use interface. The second is that it is free.
But, besides, CapCut offers features you will not see in any other app of this type, such as the ability to delete the background of a video and replace it with whatever you want. If you are interested in knowing how to do it, read on, and we will tell you your options.
One of the most fashionable creations is using a green screen to make your own chroma key and superimpose two videos. With this technique, the clips will be perfectly integrated, and you can give free rein to your imagination. In CapCut, you have two ways to make this kind of videos.
Background remover
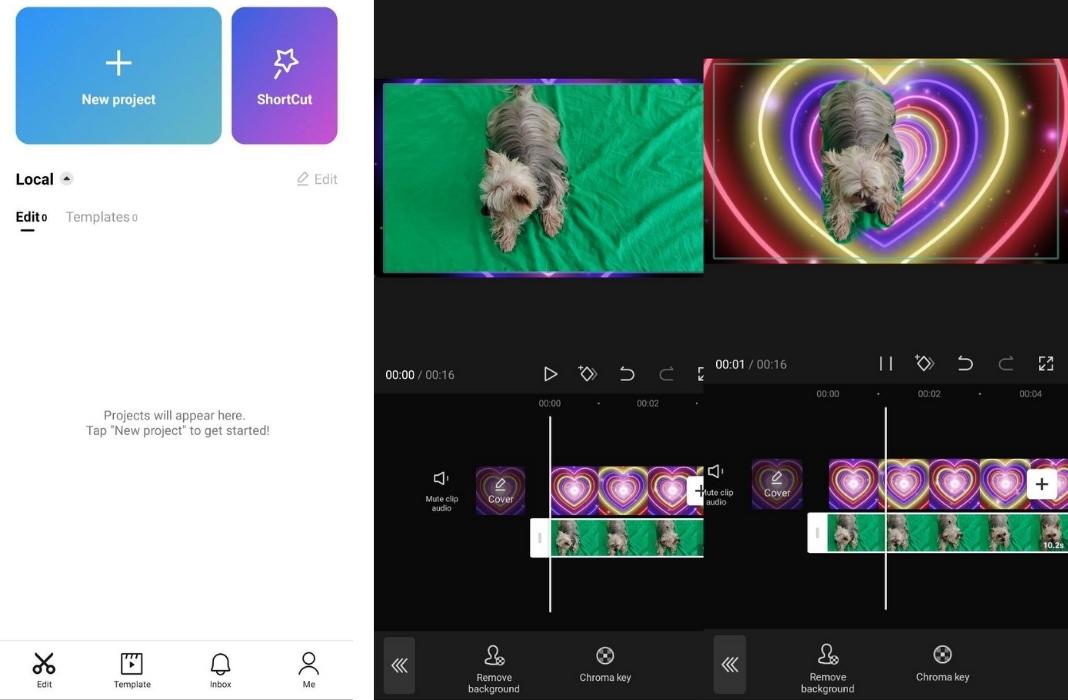
Open CapCut, and tap “New project” on the home screen.
- Select the video you want to be in the background.
- Once you have selected the video, it will be displayed in the editing interface— this is where you can trim it, add filters and effects, etc.
- To overlay a video, tap “Overlay” and “Add overlay”.
- Select the video you want to show in the foreground.
- The video selection screen will open, and you have to choose the clip you want to overlay.
- Once selected, the main interface will open, and you can see the two videos overlapped.
- Tap the “Remove background” button to merge the two video layers. Automatically, you will see how the two videos are integrated.
Chroma Key
The other way to erase the background of a video is to use the “Chroma Key” tool. This not only trims the background of the video better but also allows you to better adjust the parameters to give the video a more professional look. The steps to follow are very similar to the ones you saw before.
- Open a new project.
- Select the video from your gallery or one of those included in the app file.
- Over this video, you will superimpose your video— which should ideally have a green background. To complete the process, go to “Overlay” and tap “Add overlay”.
- Now select the video from the phone gallery, and once you have both videos overlaid, you will need to remove the green background.
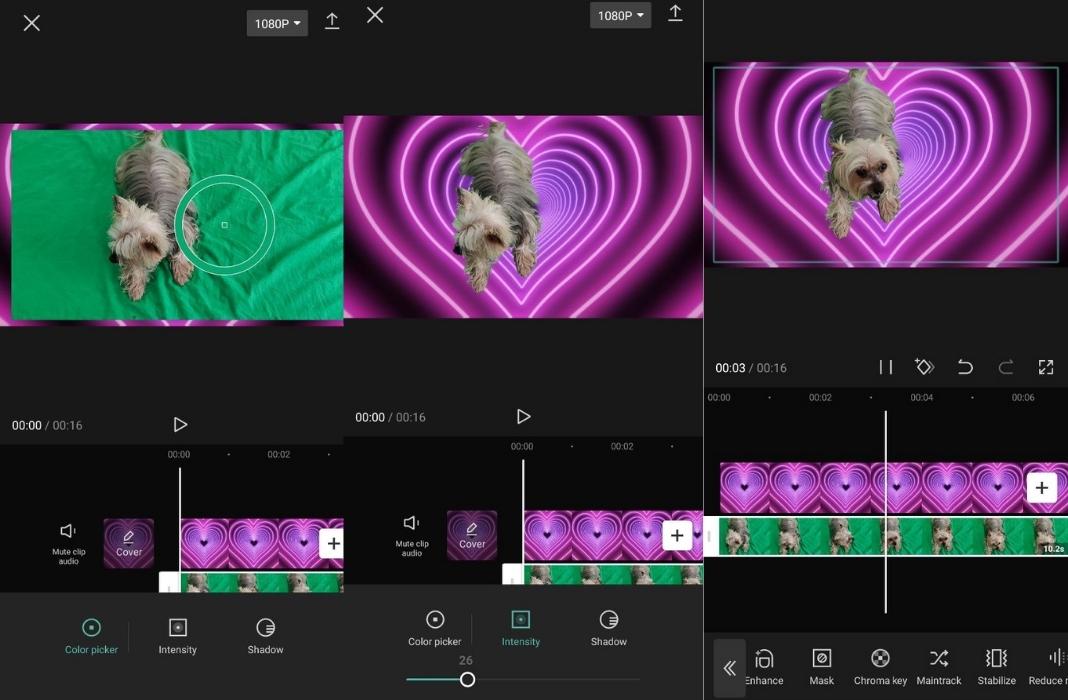
- To do this, tap “Chroma Key”, and you will see a circle appear— this is the color selector. Drag the circle with your finger and place the inner point in the green-colored part.
- Tap “Intensity” and adjust both videos using the guide provided by the app.
- Finally, save the settings, and your video with the new background is ready to share.


