They say there’s no reward without effort, but creating video games can be frustrating indeed for those trying to get their feet wet in this thrilling world without adequate preparation. It’s clear that nobody can be a one-man army capable of single-handedly designing, drawing, and programming a project, but thanks to tools like Game Maker you can focus on certain conceptual aspects rather than implementation. In other words, you can create a game with practically zero knowledge of programming.
The origins of Game Maker
Mark Overmans, an IT engineering professor and researcher at the University of Utrecht, developed the germ of Game Maker as a tool to help students create 2D animations. Later on, the project expanded to the point that in 1999 it was released in its first public, free version, having become a complete integrated development suite for video games.
The impact of the program has been such that it’s been used by both amateurs and many studios to develop their games, as in the case of the popular indie titles Hotline Miami, Spelunky, Super Crate Box or Dustforce, the fruits of the resurgence in artisanal titles with a retro touch. Likewise, it’s often a practical tool to quickly create prototypes that will later be developed with other development environments and languages.

What’s truly interesting about all this is that instead of setting the user adrift amid a complex programming language, its interface is completely focused on making development easier so you don’t have to write a single line of code. Instead you can create your project by dragging and dropping objects into their locations and assigning them different properties….
What exactly is the drag-and-drop philosophy?
The name says most of what you need to know. The drag-and-drop concept brought the world of technology closer for those with no programming skills. To put this into perspective: in the old days of MS-DOS, to do something as simple as decompress a file you had to type something as monstrous as ‘c:\>arj x -v -vw game.arj c:\my_games’ into the command line. Thanks to Windows and other window-based operating systems, you can do the same thing with a couple clicks. Game Maker has brought the same concept to video games.

Imagine you want to create a ball that moves to the left when you press your left arrow key. To do something like that in a high-level language would require you to write several lines of code and define many external aspects about the environment and execution. But on Game Maker, it’s as simple as the following:
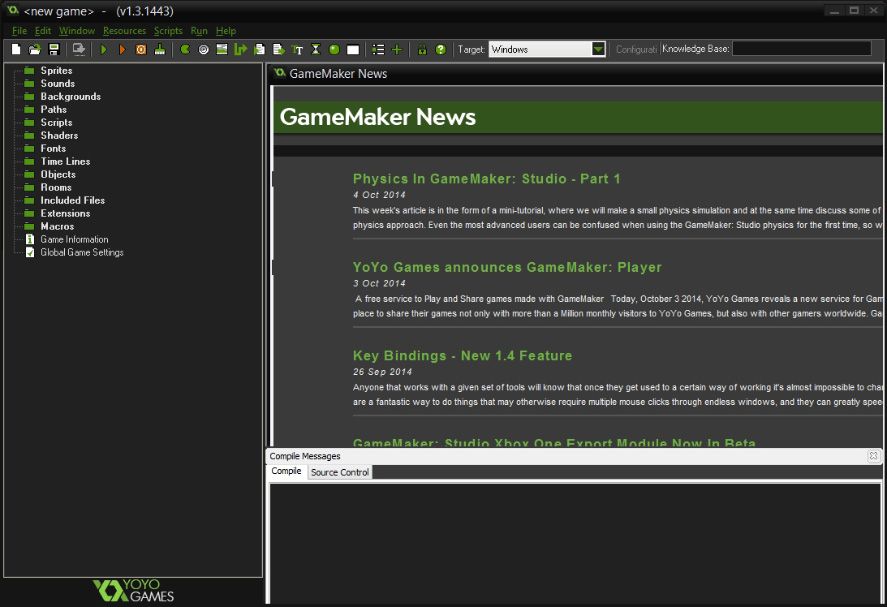
- Create a sprite with the ball in question. To do so, right-click on the Sprites section at the left and then click Create Sprite. Give it a name in the Name field and click Edit Sprite to either draw it yourself or select an image you have saved. By clicking on the upper New Sprite button and selecting a size of 32×32, you can draw the character you want.

- So you have your image. Now you’re going to create an object that will define the behavior of your bouncing ball. Go to Objects > Create Object, give it a name, and select the sprite you’ve just drawn. And now comes the interesting part.
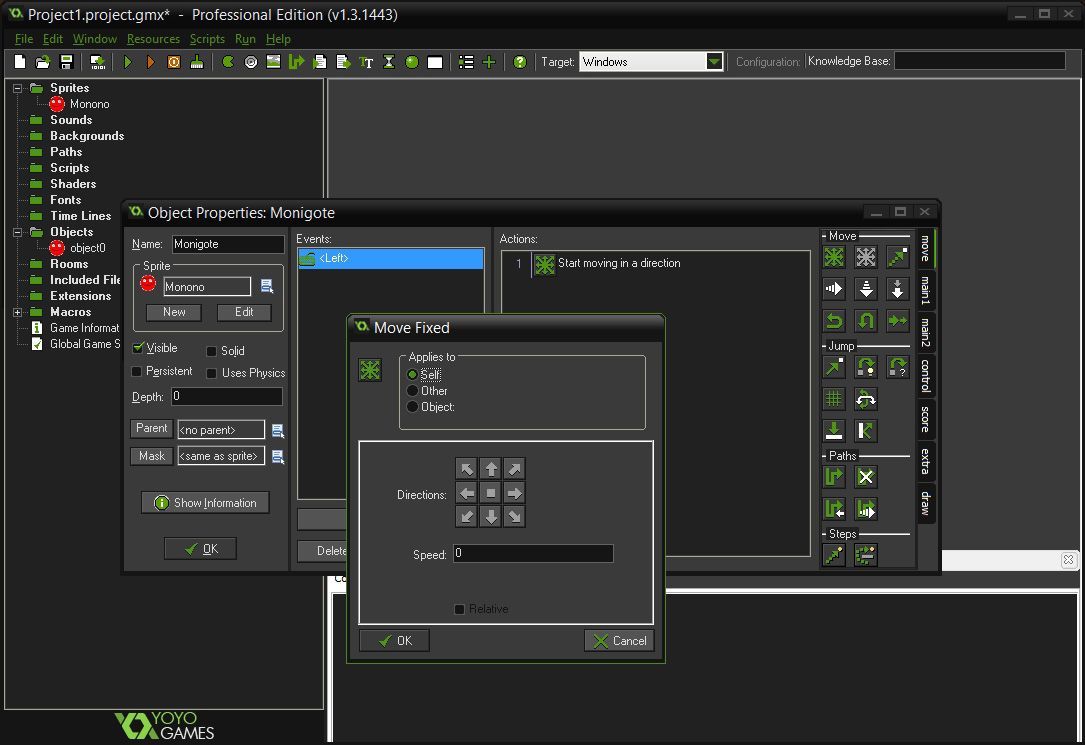
- By clicking on Add Event you’ll create a reaction rule, that is, the trigger that prompts your character into action. This trigger could consist of bumping into another object, a certain lapse of time, or, in our case, pressing a key. Thus you’ll go to Add Event > Key Press > Left. In other words, “something” is going to happen when you press your left arrow key.
- Now we move to the reaction or effect. To the right of the object-properties window you’ll see several icons and tabs that define all the actions that can be programmed, from making a sound or self-destructing, to moving to a particular place. You’re going to select the Move Fixed icon (the first one) and drag it to the Actions

- A window will appear for that action and in most cases its settings will be very intuitive. The Applies to section indicates that the action will be done by the object that triggers it (the Self option, as in this case), although you can also apply the effect to another object that appears on the screen. For example, if a shot hits an enemy, you can set it so he disappears.

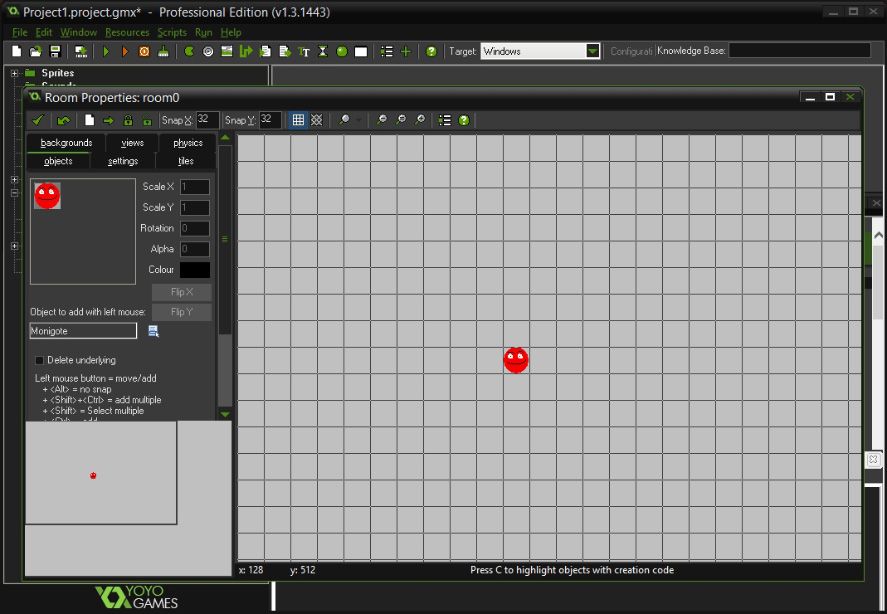
- Finally, we’re going to a create a ‘room’ to place your creature. To do so, go to Rooms > Create Room. By default, the scene will have a size of 1024×768, but you can change both the shape and size of the ‘camera’ that will focus on your character, although we’ll leave that for another tutorial. At the moment, with your character selected in the Objects tab, you’ll left-click on any point on the grid to place your object.
- Now close all the windows and click on the upper Run Game icon to see your humble result in the window. Congratulations! You’ve just done something in five minutes that would take much longer to program ‘by hand’!

Different versions of Game Maker
After Game Maker’s version 8.1, it made a great leap forward with the launch of Game Maker: Studio, with its features that allowed the export of games for desktop operating systems as well as iOS, Android, and even HTML5. The Standard version of the program is completely free, although it only allows you to export games for Windows and lacks a few advanced development tools, while the Professional version, although it normally has a price tag of $99, is often quite a lot cheaper during certain periods and you might even get a license for less than $40. This table shows the features and prices of extra modules.


There’s a new book just out for those who are just starting out with GameMaker: Studio. Available as an eBook or paperback.