We’ve talked before here on the blog about the benefits of creating and writing a blog when it comes to developing your skills and sharing your knowledge and experience with other people. The WordPress platform is now the most widespread content management system, to the point that one of every four webpages now uses it. For that reason, and given that no one’s born blogging, we’re going to explain here how to register on WordPress and create a blog from scratch using the free content storage it offers.
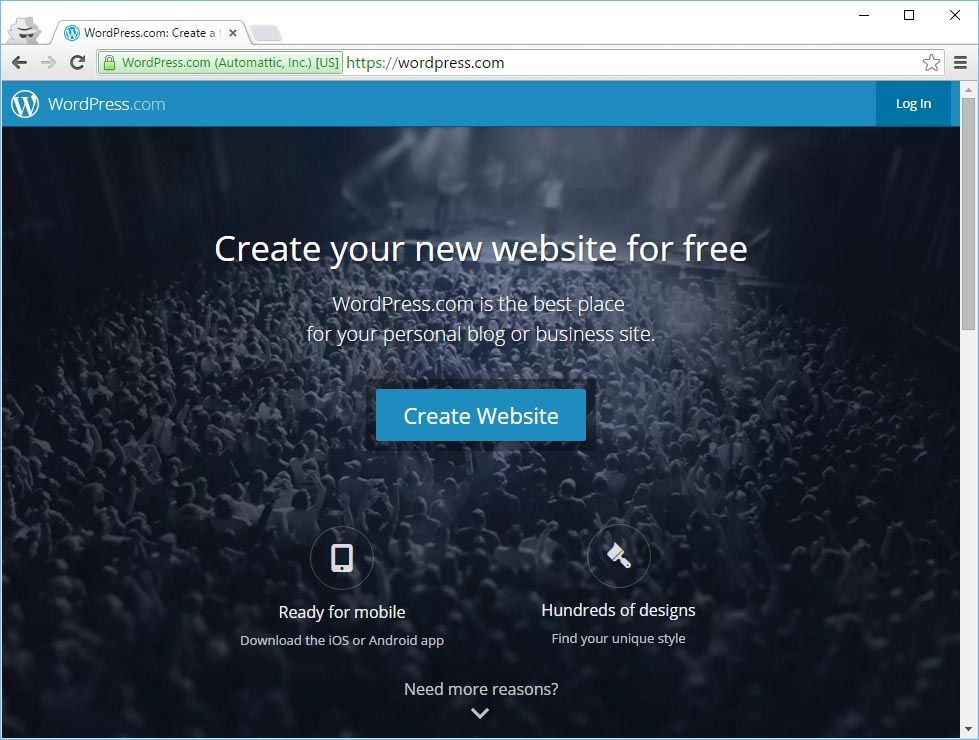
There are two ways to use WordPress: by installing its ‘infrastructure’ on an external storage service or opting to store it on WordPress’s own servers so you don’t have to worry about any of that. As this is a starter tutorial, we’re going to do the latter, heading to http://www.wordpress.com and clicking Create Website.
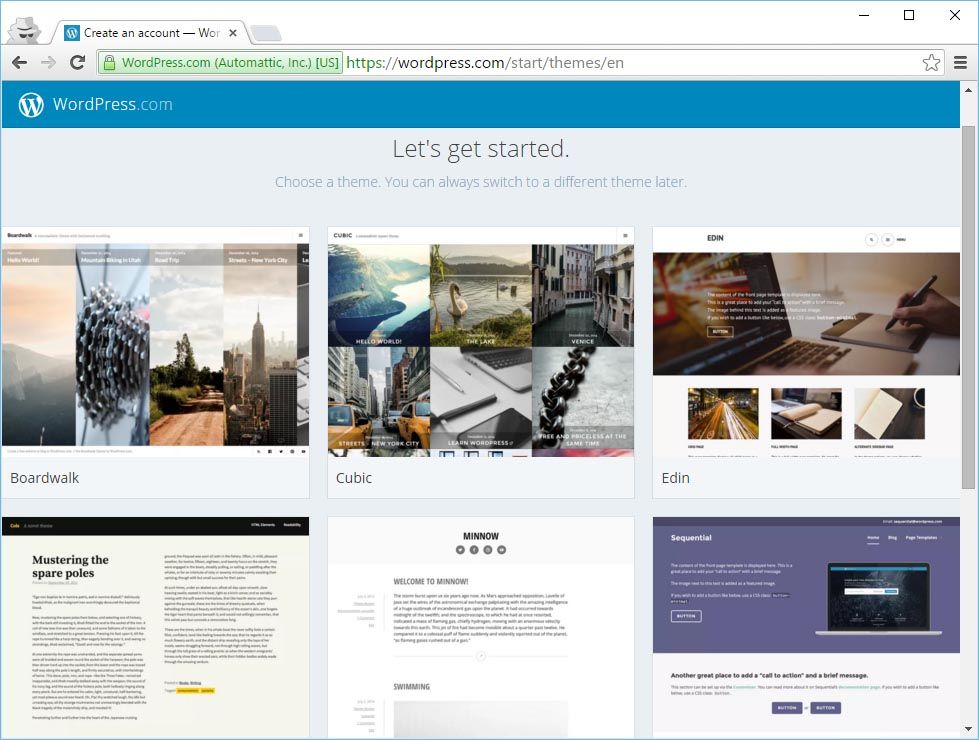
WordPress offers a smooth step-by-step wizard to help you create a blog in minutes. Nor do you need to be super meticulous about picking styles and features as you can always modify them in much greater depth later. It will start by asking you to pick a template for your site design. The design and the content are totally separate and don’t affect each other, meaning if you later decide to switch templates, all your published content will still appear on your blog.
The only thing to keep in mind is what kind of page you’re going to make. A personal blog that’s used as a diary isn’t and shouldn’t be the same as a corporate webpage. This is precisely the magic of WordPress: it can create practically any kind of webpage, be it purely informational, business-oriented, or even an online shop.
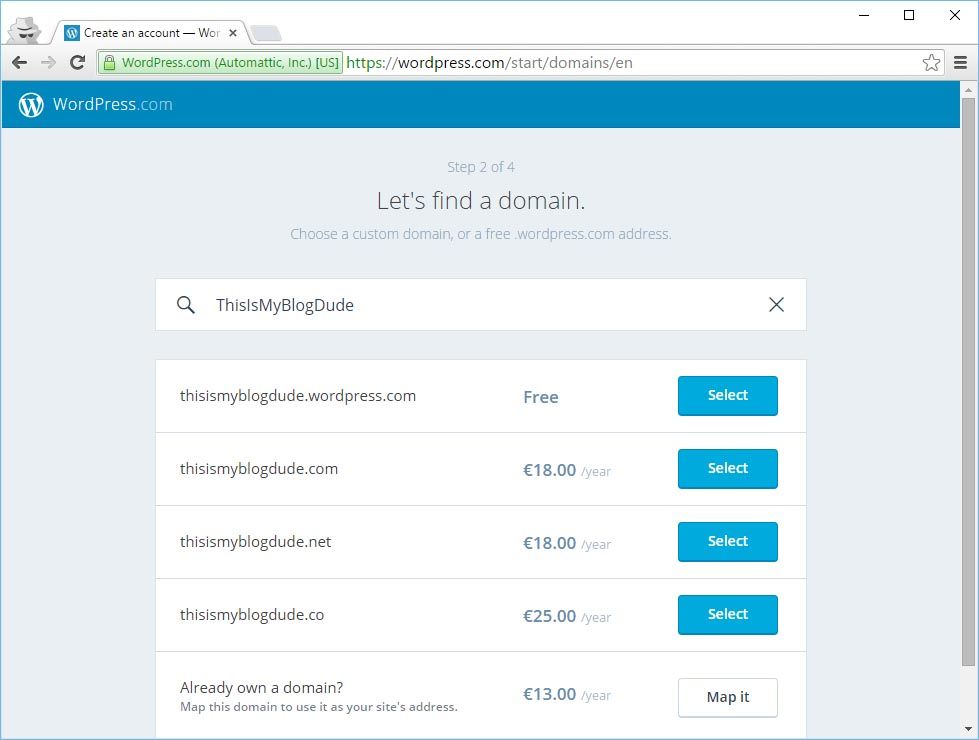
Next you have to choose your domain name. Careful here: don’t confuse the blog name with the domain name. The latter is the web address itself and not the name by which the site will be known. Our example blog is going to be called ThisIsMyBlog. As you can see in the image, when you type the site name up top you’ll get several different registration options, with the one called name.wordpress.com being free. The name bit is what you’re picking here, the URL name, but you can later give the page any title you want. Obviously it’s a good idea too find a name for the site that’s short and something close to the actual title so that people remember how to find it.
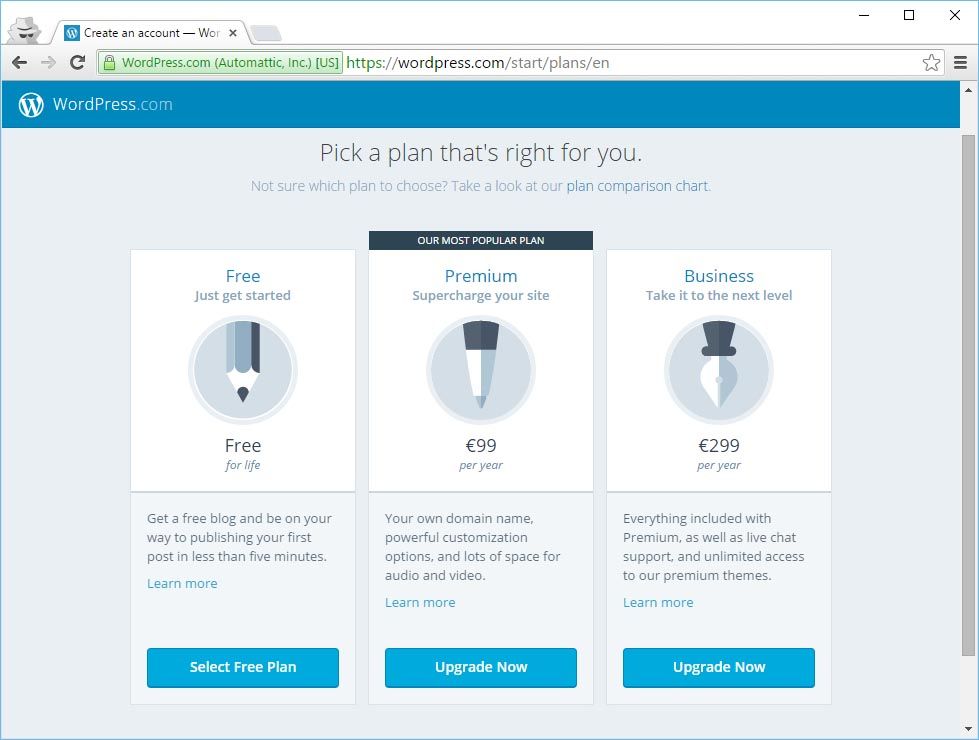
Next it’ll ask you what plan you want. There’s a free one, as well as annual paid subscriptions that offer extra features, such as in-depth customization of the templates or complete removal of integrated ads on the site. For the time being we’re going to go to the option on the left and click Choose a free plan.
Finally we come to the proper registration bit, where we’re going to create an account and associate it with your email account. You’ll also need a username and password to access the WordPress editing panel, the private site where you can modify everything about the webpage and to which only you have access, although it’s still possible for several people with different account to write on your blog. Once again, the possibilities are enormous.
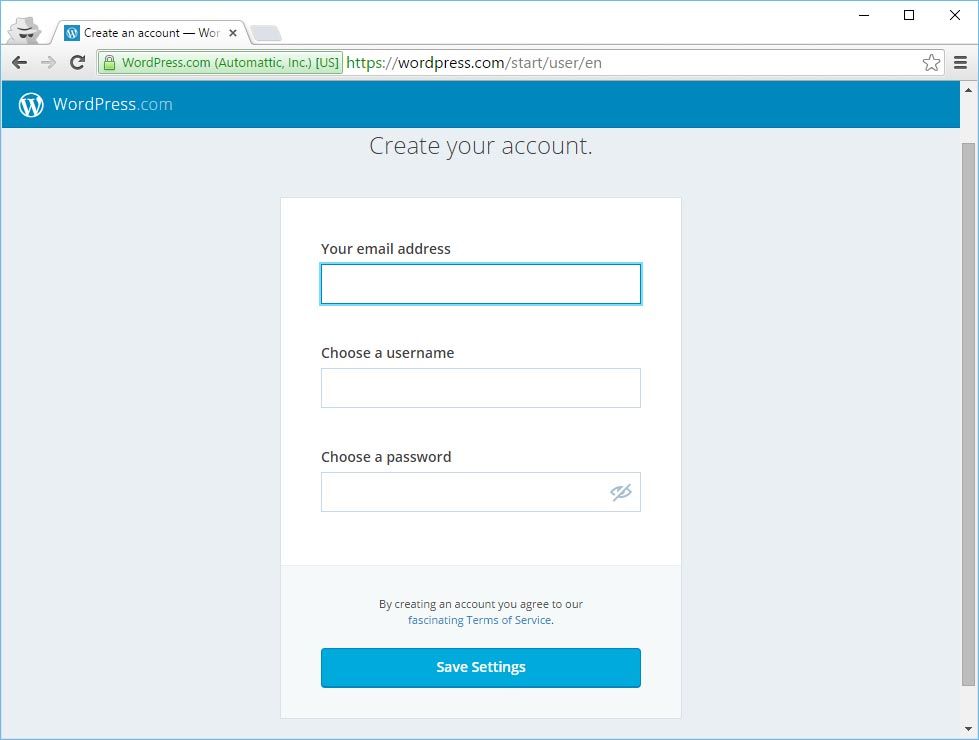
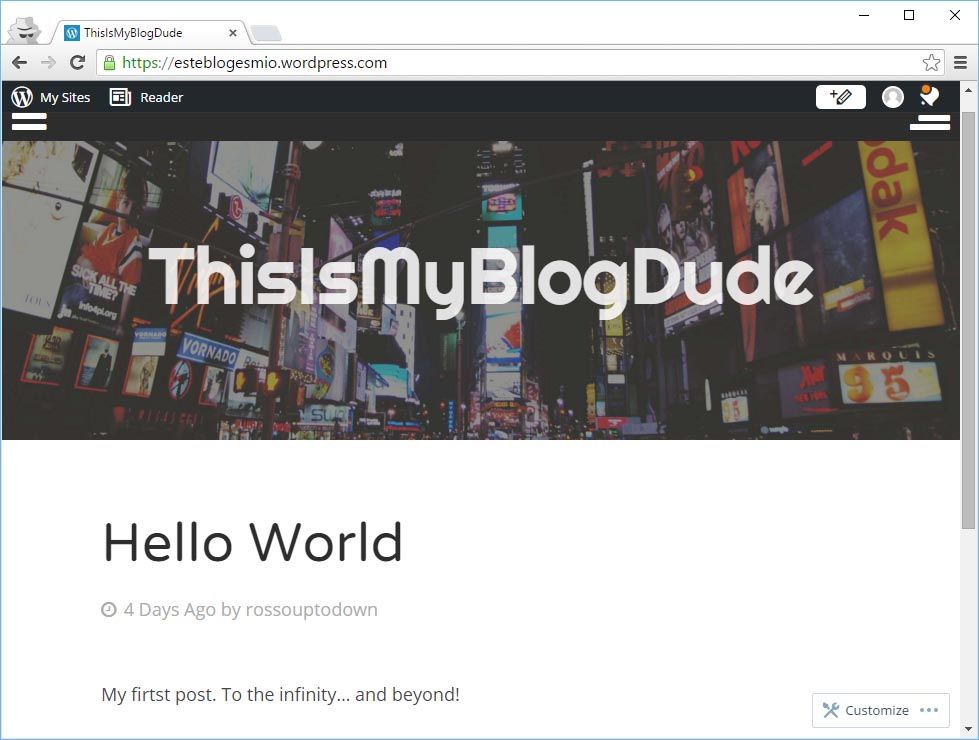
After entering your info you’ll need to verify your subscription via an automatic email that you should receive within a few seconds and that will take you straight to your control panel. At this point you can visit your site even if there’s still nothing on it. We’re going to go to https://thisismyblog.wordpress.com. Amazingly, it works!
We’re going to access the WordPress control panel, whose address is that of your blog followed by wp-admin, in our example case being https://thisismyblog.wordpress.com/wp-admin, where we’ll put in our username and password.
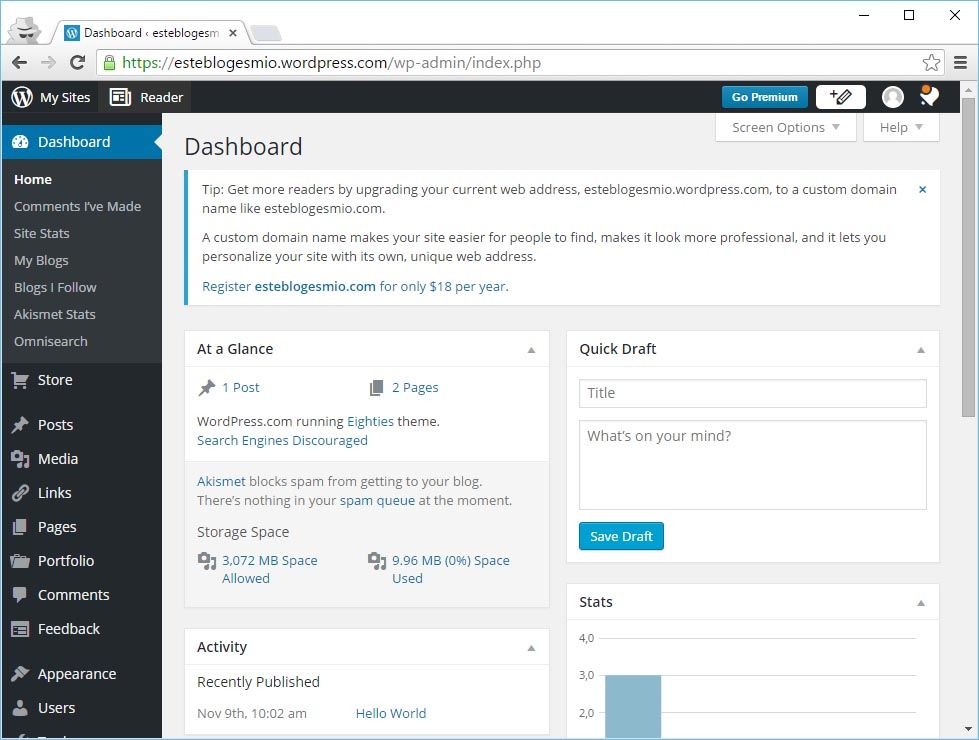
From here you can set up all aspects of your blog using the menu on the left. In this first lesson we’re not going to get into too many details about the sections and limit ourselves to creating our first post. Go to Posts, where you’ll see there is also a default entry called First Blog Post. To get rid of it hover your mouse over the title and send it to the trash with the red button that appears. To create one, click Add new under the Posts header.
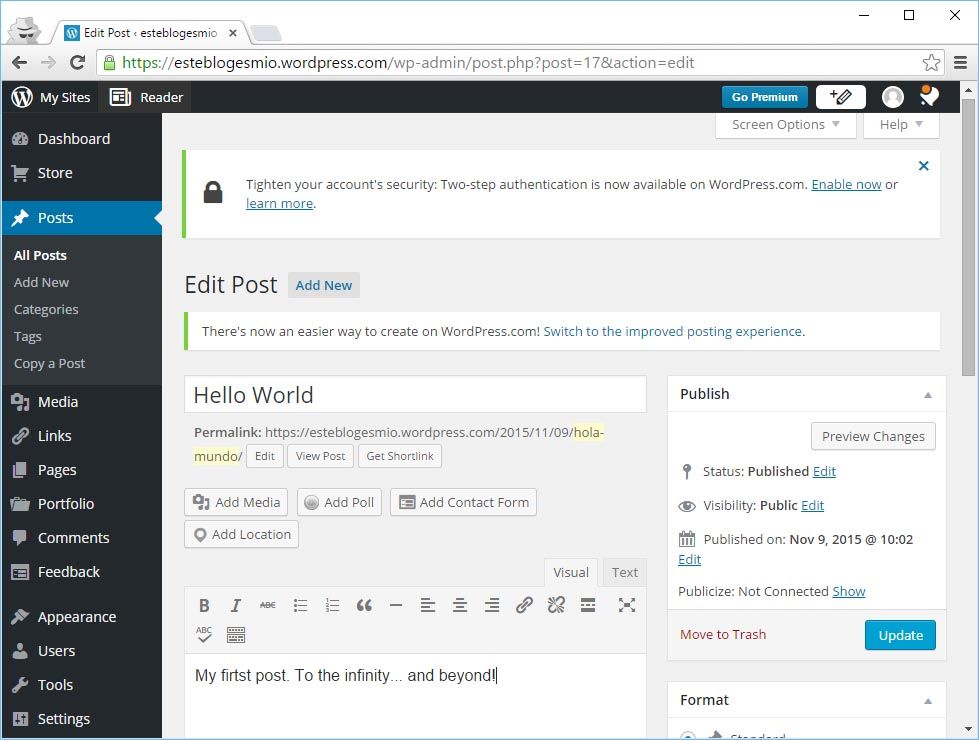
You’ll be taken to something like a word processor where you can type whatever you want, format the text, and embed all sorts of multimedia content in the post. Add anything you want as the title and body and click the blue Publish button on the right. Then go back to your site and you’ll see the result. You’ve just published your first blog entry!


[…] We’ve talked earlier than right here on the weblog concerning the benefits of creating and writing a blog in relation to creating your expertise and sharing your information and expertise with different individuals. The WordPress platform is now probably the most widespread content material administration system, to the purpose that one of every four webpages now uses it. For that cause, and provided that nobody’s born running a blog, we’re going to elucidate right here find out how to register on WordPress and create a weblog from scratch utilizing the free content material storage it gives. Read more […]