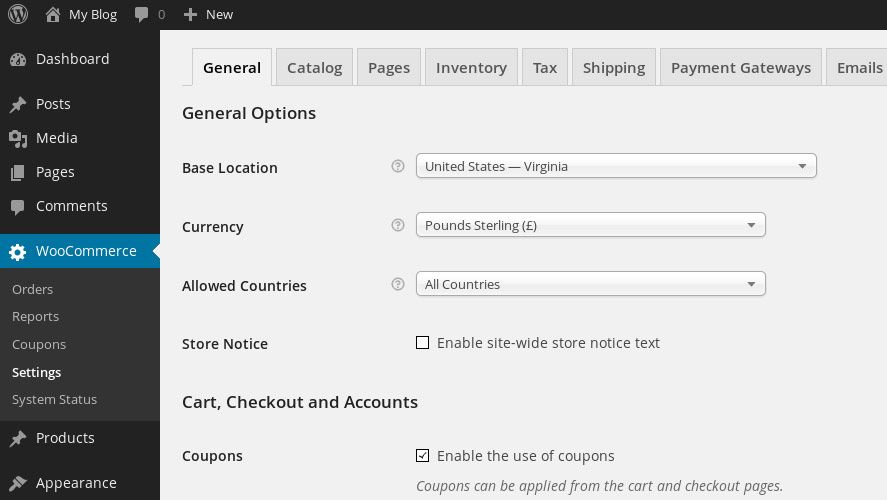
There are many free and open-source CMSs available for creating online stores, such as Prestashop or Magenta, which you can use to create your own such project from scratch. An interesting option is to take advantage of the versatility of WordPress to use it as a base and add plugins that can transform your blog and control panel into a complete e-commerce tool. In this case, we’re going to use the free tool WooCommerce and one of the many templates available on WooThemes.
You have to keep in mind that to set up your online store you’ll need to install WordPress on your own web hosting service rather than storing it on the servers of WordPress itself. A while ago we did a tutorial on how to create your own blog on a local server, and this guide can also extend to any other hosting solution like HostGator or similar, which in most cases offer CMS installation wizards. Thus I’m going to skip over the step where we install WordPress itself and focus on the setup process for WooCommerce.

Installing WooCommerce
The first thing you should do is install the plugin that lets you manage all the internal aspects of your shop from your WordPress control panel, from adding new products to your stock and distributing it into categories, to managing payment methods and any other aspect of the purchase process.

To start, you have to go to the Plugins > Add New section and type “WooCommerce” into the search bar. “WooCommerce – excellin eCommerce” is the plugin you’re looking for, and after installing it you’ll need to activate it by clicking on Activate Plugin within the Installed Plugins section.
After this process you’ll find a new set of submenus in your left sidebar. If you drop-down the one that says “WooCommerce” you’ll have access to loads of configuration options for your online shop, while in the Products sections you’ll be able to create product pages and descriptions and upload images to your catalogue. On the documentation section of WooCommerce’s official webpage there’s info about each of the sections.

Installing the webpage template
While we’ve already gotten the backend for our online shop ready, now we’re going to install the template for the shop itself, which will be what the final user sees when logging in to your webpage. There are loads of plugins, both paid and free, that can serve our purposes here. In this case, we’re going to use Mystyle, a free template that you can download from WooThemes that incorporates indispensable features for a page of this sort, such as a responsive design that adapts to the resolution of the device you’re viewing it from, as well as the simplicity and clarity that a page like this requires.
You’ll need to install this theme manually, and to do so first you have to go to their official website, add the them to your cart, and complete the purchase process. But don’t panic: when you finish the steps you’ll see that the cost is zero. After this you’ll find the download link to the theme in your email in Zip format.
Now you’ll need to go to Appearance > Themes, and click on the “Add New” button. Then click “Upload Theme” and find the file you’ve just downloaded at the file path you selected. Then go back to Appearance > Themes, place your mouse over the theme, and click the “Activate” button.
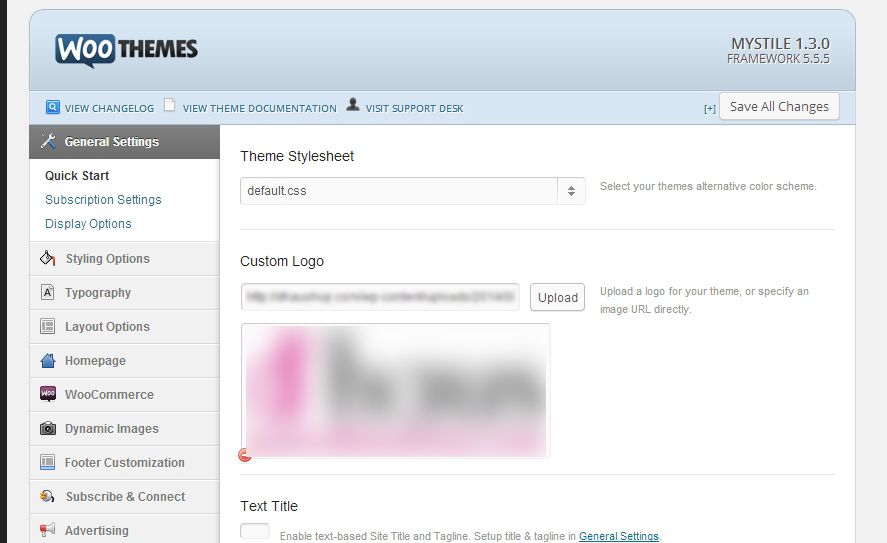
After this, you’ll find a new option on your left sidebar in the form of a control sub-panel from which you can customize your theme with regard to the style, format, and distribution of its elements. And on WooTheme’s official webpage you’ll find extensive documentation on the theme.

This is just the beginning
Obviously, this tutorial is just to get you started and only covers the process of installing and configuring the necessary plugins and themes. When it comes to making a sales plan and optimizing the sales process you’ll need to cut your teeth with a bit of web documentation. It’s already well established that money won’t simply flow into your hands just because of the mere fact that you’ve set up an online shop, and in fact the real work begins once you’ve laid out all the infrastructure. But we’ll leave for another time our discussion of tips and common mistakes for you new webpreneurs.


hade hya lana9a wla la
If some one wishes expert view about blogging then i suggest him/her to pay a visit
this weblog, Keep up the pleasant job.