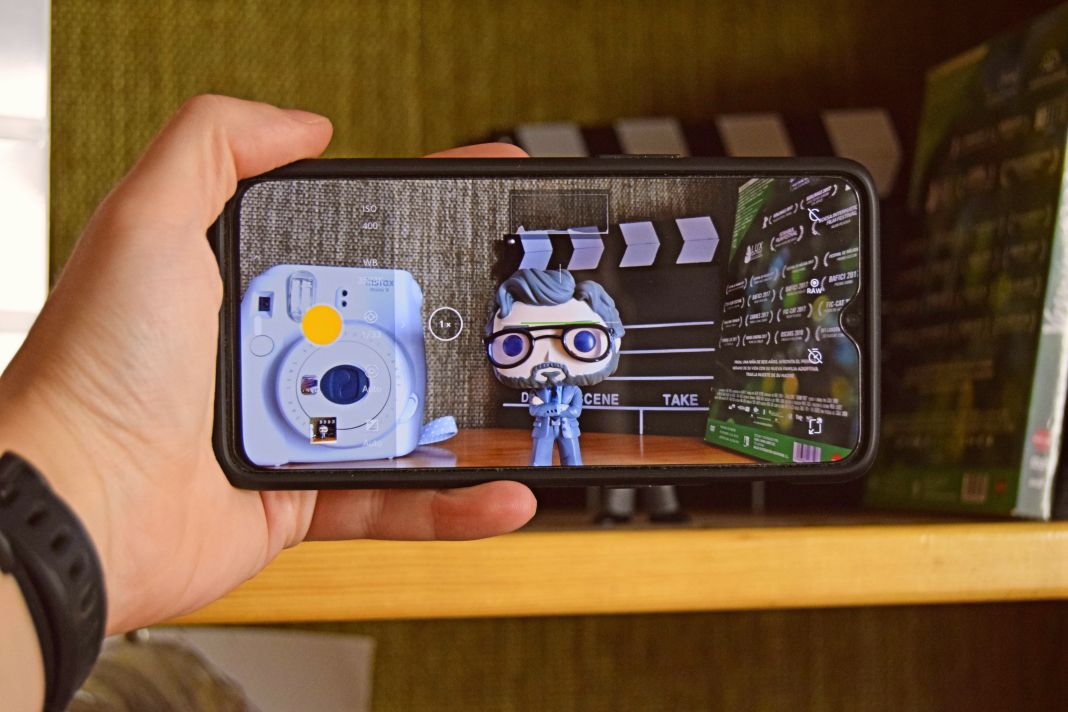
There’s no arguing the fact that smartphone cameras keep getting better and better. Long gone are the days when devices with VGA lenses let us take our first digital photos. Nowadays, many phones are able to get high quality results, close to what you’d get from using a DSLR camera. Using zoom or shooting photos at night with your smartphone is no longer such a nightmare and any user can take beautiful images. In fact, on Android now there’s a professional photo mode that lets you manually adjust multiple parameters to make sure you get the perfect shot every time.
It all starts with choosing the right format
Before you start taking photos, it’s important to choose a good format to store your material in. If you’re used to editing the photos you take using apps like Lightroom, you should know that the best option is to save the pictures in RAW format. This format doesn’t compress the files so it doesn’t delete any information that the sensor collects. This way, you can correct aspects like brightness and color with a lot of room for improvement.
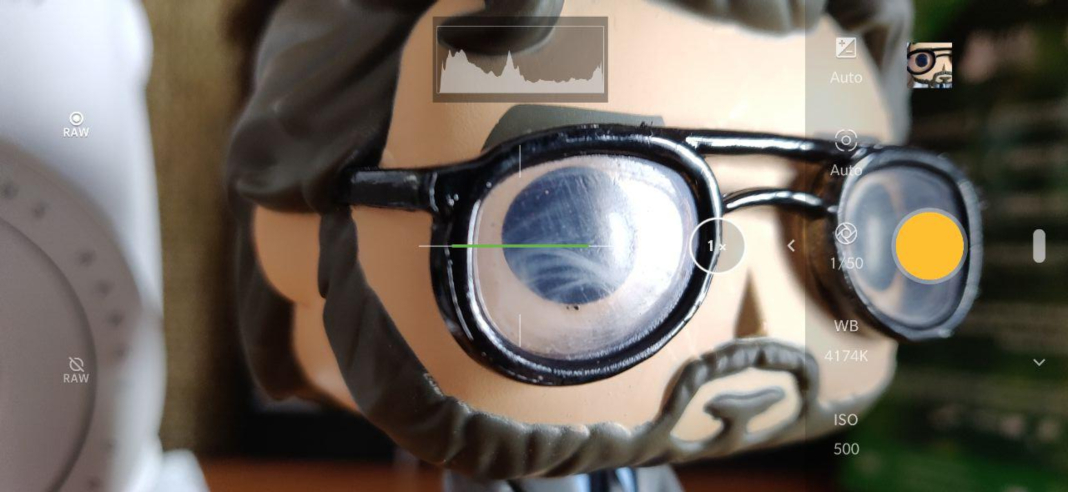
It should be noted that not all devices or versions of Android let you store photos in RAW. However, there are apps like Camera FV-5 Lite that let you do so regardless of the phone model.
Adapt the ISO according to the lighting conditions
Before taking a photo it’s important to pay close attention to conditions of the scene you want to capture. The ISO level lets you adapt the sensitivity of the sensor according the the light it receives. In other words, it’s a gauge of the light necessary for the camera to be able to take a good picture. If your subject is well-lit, you should choose a lower ISO. If there’s poor lighting for example, at night, you’ll need to use a higher ISO. Although the higher the ISO, the grainier the picture may end up looking.
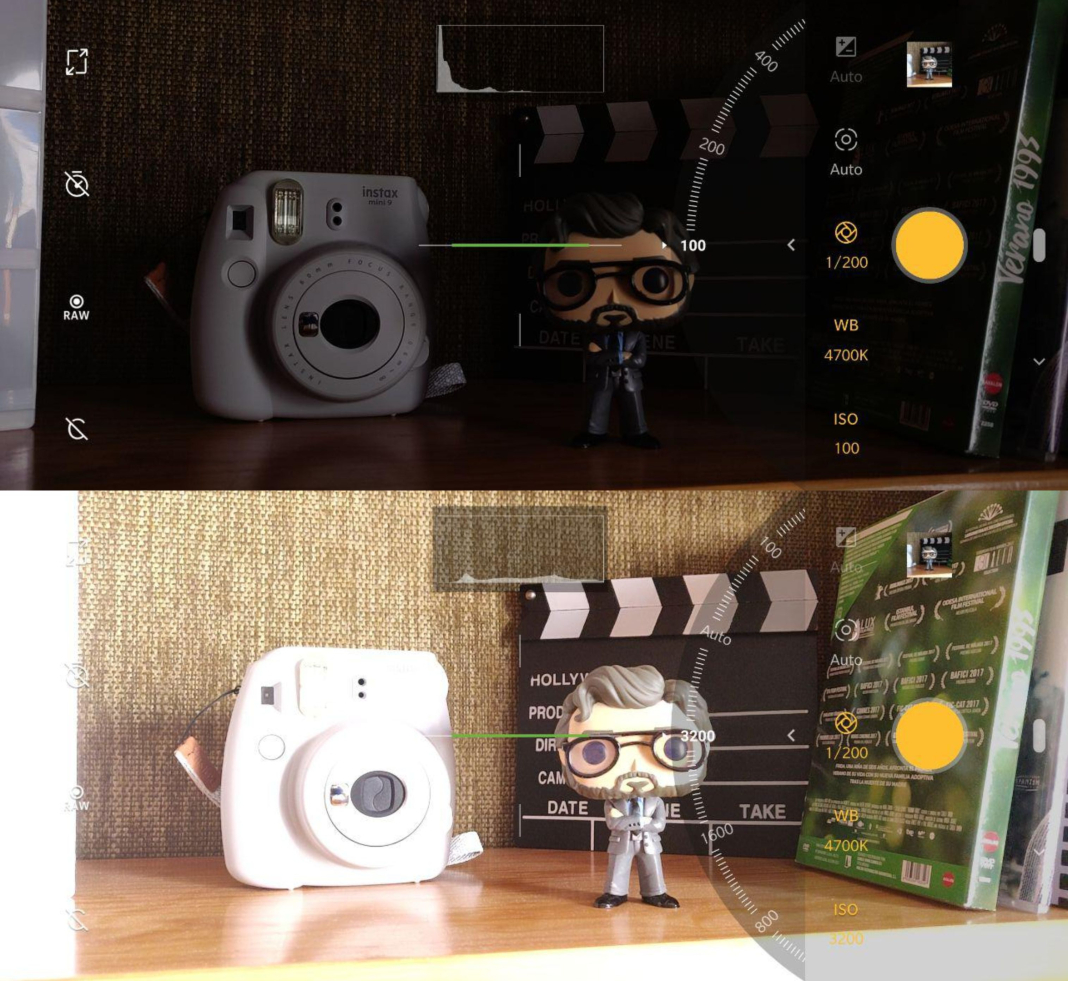
These two photos were taken in the same conditions. However, in the upper photo you can see that using a lower ISO of 100, the picture comes out too dark. On the other hand, when you adjust the ISO to 3200, the sensor is capable of receiving a lot of light and the photo ends up looking overexposed.
How to adjust ISO sensitivity on a smartphone camera
- Again, if you have low light, you’ll want to use a high ISO value. Careful though, because if it’s too high, your image will look grainy.
- If you have natural light, without direct light, it’s best to use a medium ISO level.
- If you have a lot of direct light, it’s best to choose a low ISO level so the picture doesn’t come out overexposed.
Adjust the white balance
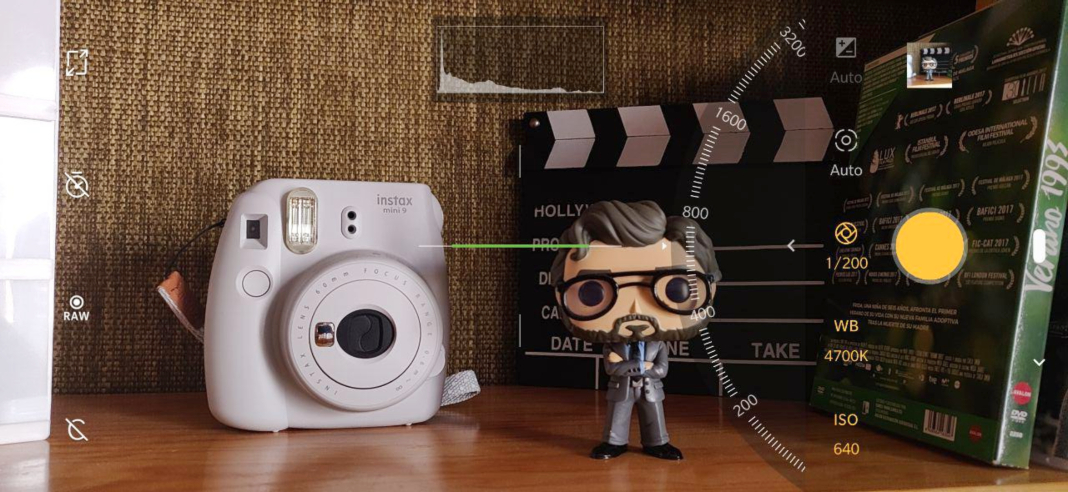
The white balance lets you adjust the how well the sensor is able to interpret the three basic colors. That’s why, if you don’t want your photos to be too heavy on the warm or cool color tones, you’ll have to counterbalance them using this technique. The color temperature is measured in Kelvin — that’s why you’ll need to get familiar with the numbers that show a K in this setting.
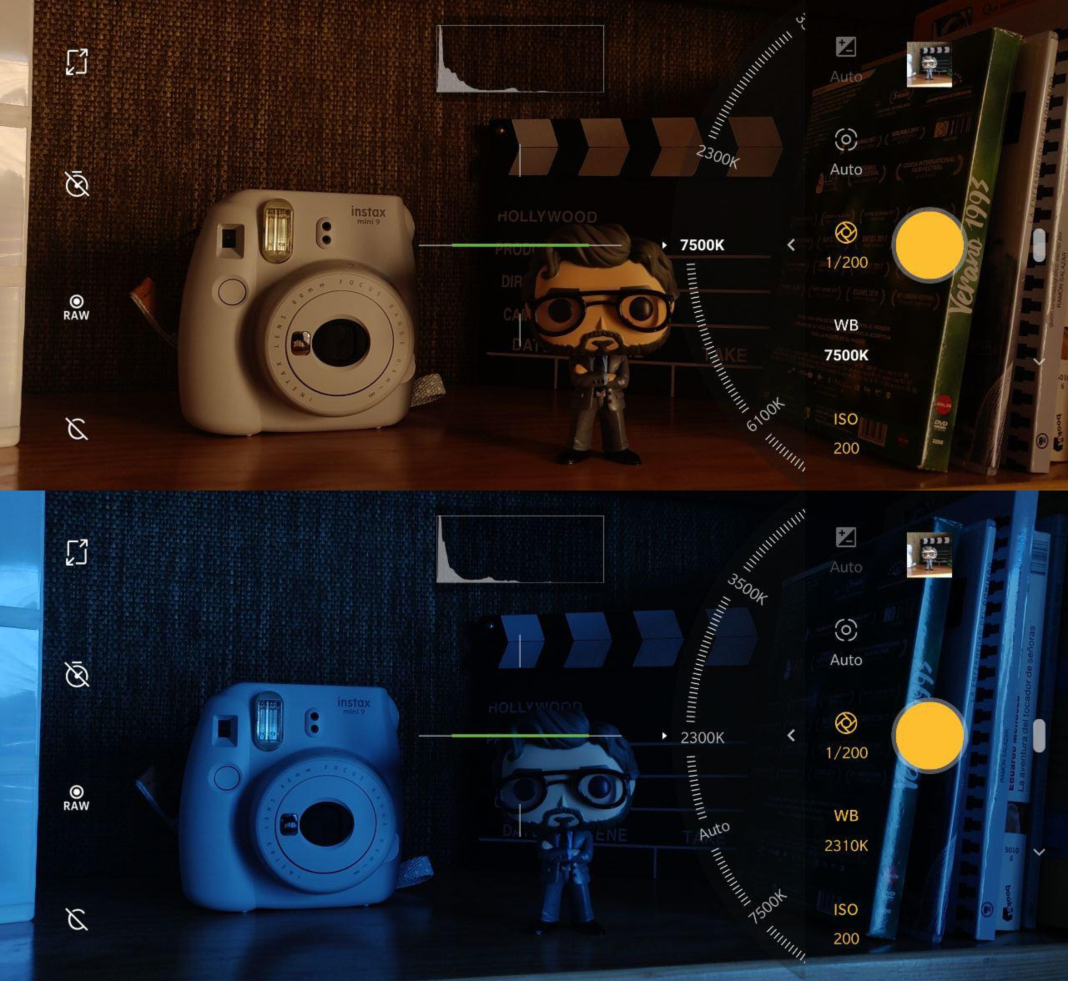
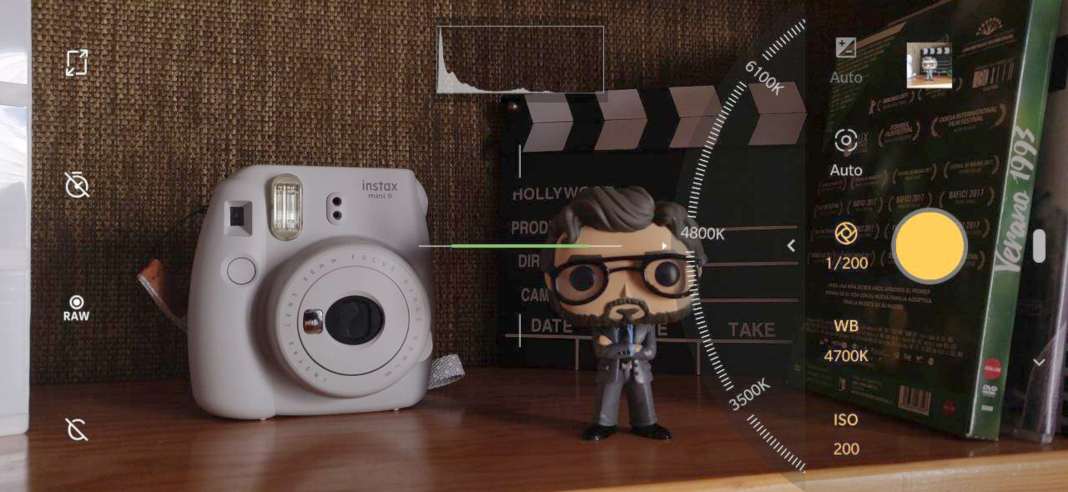
If you set a higher temperature the orange or warm tones will predominate. On the other land, the lower the number by the K is, the more blue and cold your photo will turn out. Finding the balance between both extremes is key to making sure the colors look the same as in real life. In this case, using 4700 K, we found a nice neutral balance.
Choosing a good shutter speed is essential
The most vital setting if you’re going to take a photo of a moving subject is the shutter speed. This is the time that the shutter is open, and thus, how long it takes to take the photo once you press the button. If you want the moving subject to look clear, you have to use high speeds like 1/1250 for example. If you use a lower shutter speed, the picture will turn out blurry if there’s any movement.
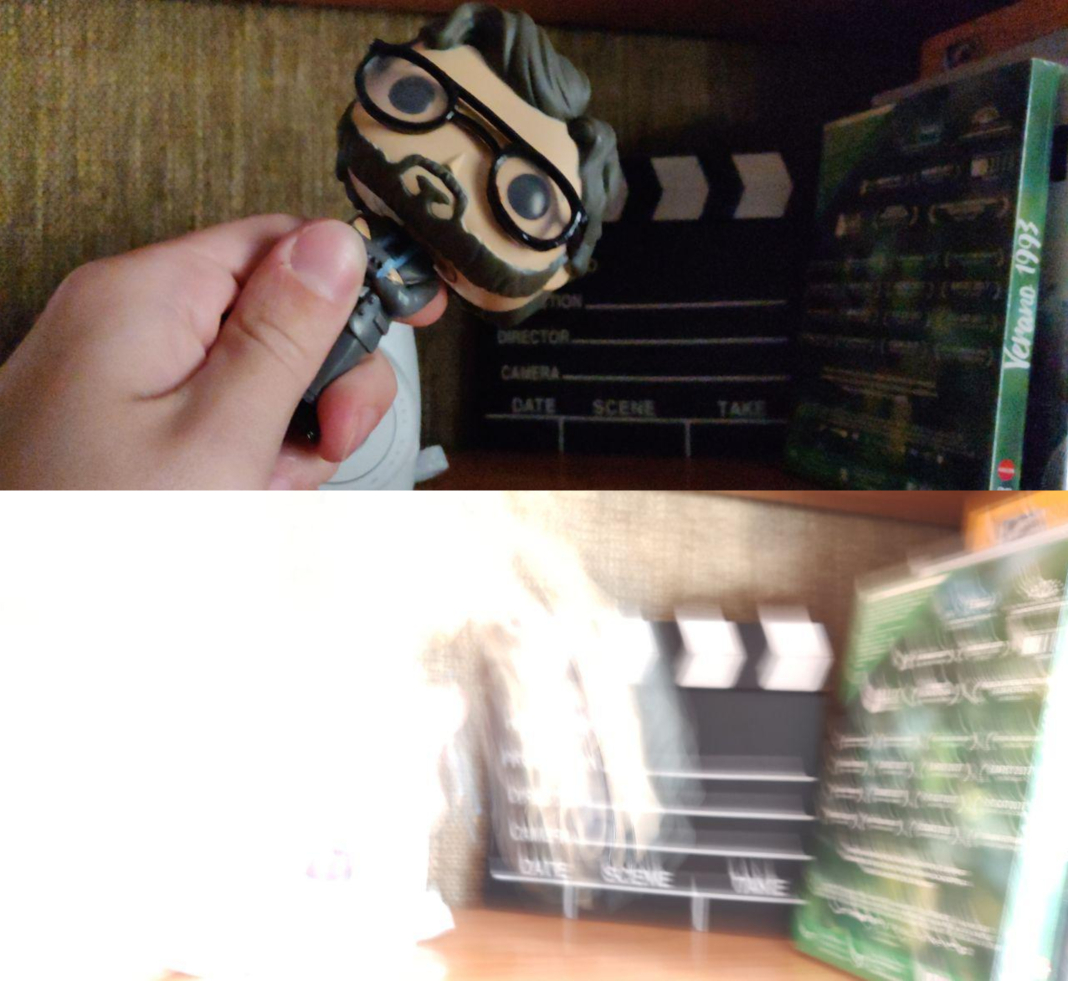
In the pictures above, we shook the object while taking the picture. For the upper picture, we used a shutter speed of 1/1250, which made it look like there was hardly any movement. On the other hand, in the lower picture we set the exposition to one second. The resulted in the picture looking like little more than a blur.
A professional camera focus
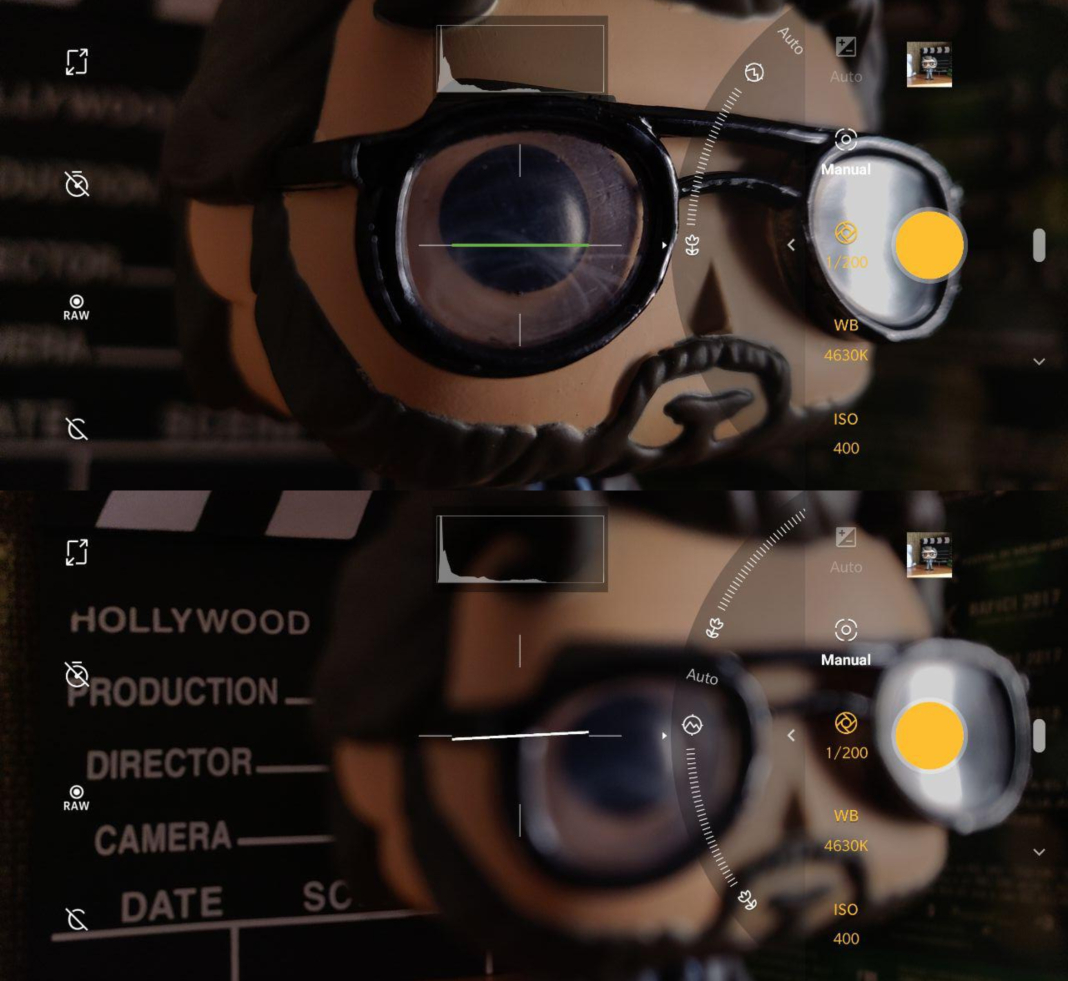
The pro camera mode for Android also lets you manually focus the camera. Thanks to this feature, you can showcase exact details or define all the elements equally. To do this, you just have to choose between the flower icon for macro photos or close up details, and the mountain icon to focus on things that are farther away.
Is it worth it to take square photos?
While it’s becoming more common to take panoramic images due to the format of smartphone screens, it can be nice to go back to the square image style. If you’re suddenly filled with nostalgia, or you just want the perfect Instagram photo, the professional mode lets you try out the 1:1 format for your pictures easily.
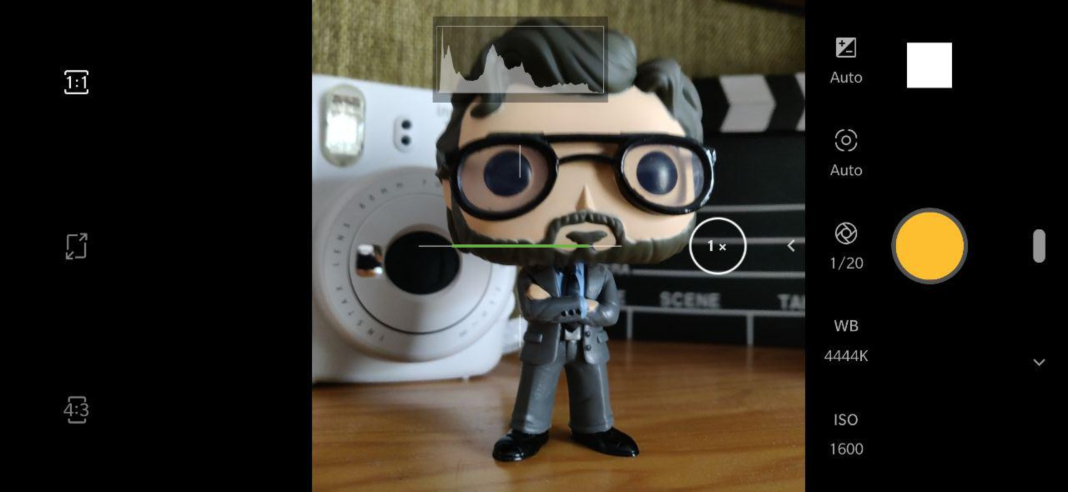
How to interpret the photography histogram
The most recent version of Android includes a histogram that appears on the screen wehn you take each photo. This graphic representation shows the frequency that certain values are repeated. This information is really easy to interpret if you know these basics:
- The left side of the histogram represents the shadows of the image.
- The middle shows the brightness midtones.
- The right side is related to the light in the photo.
- If the histogram information is concentrated on the right side, the picture will look overexposed.
- If the bars are more concentrated on the left side, the photo will probably turn out too dark.
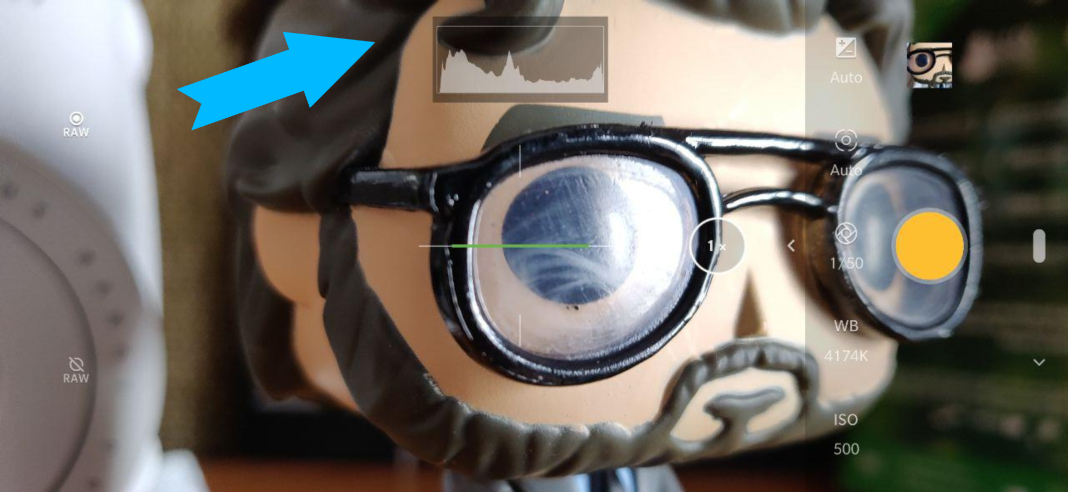
With all these tricks, it’ll be much easier to show off your professional photography skills with your smartphone. You won’t need to carry around a bulky DSLR camera; just hours of practice and a desire to get the most out of your Android’s camera.

