Screen capture can prove an adventure and a half if you don’t manage to find the right program, especially if you’re looking for a free one that doesn’t have obligatory watermarks or long introductory clips. CamStudio is one of the best freeware alternatives out there to record your screen activity for both your Windows desktop and your video gameplays.
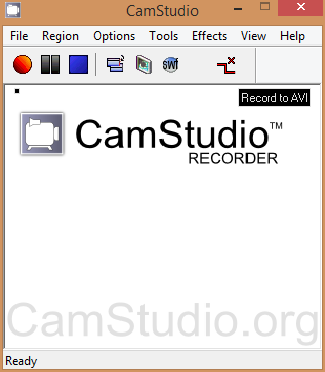
Its minimalist interface goes a long way toward achieving greater clarity and simplicity. It can output either Flash or AVI file formats, and the compression codec can be any of the most common types, from MPEG-4/H.264 to ffdshow.
In the Region section of the upper menu you can select the region that you want to record: an area of the screen that you select manually (indicating whether you want to maintain the aspect ratio or not); a particular window on the desktop; the complete screen; or even one of each if you’re using various monitors.
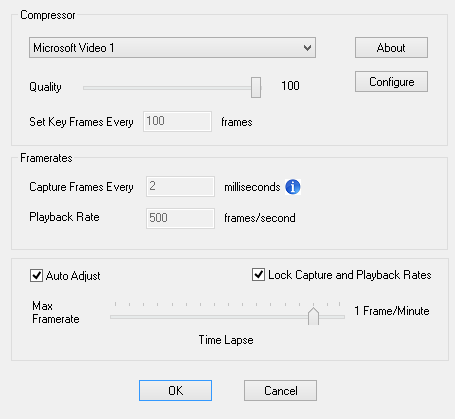
In Options > Video Options, you can adjust the format and the type of capture. There’s a dropdown menu there where you can select the compression format from among eight different possibilities, and also configure the compression quality either using the Quality drag button or within the configurations subsection.
Below that, you can select the frame refresh rate for the recording and the delay in milliseconds between each frame captured, as well as the number of frames you want to play per second (it has to be one of multiple values available). The best way to save yourself a few headaches in adjusting the latter is by activating the Auto Adjust option in the lower toolbar.
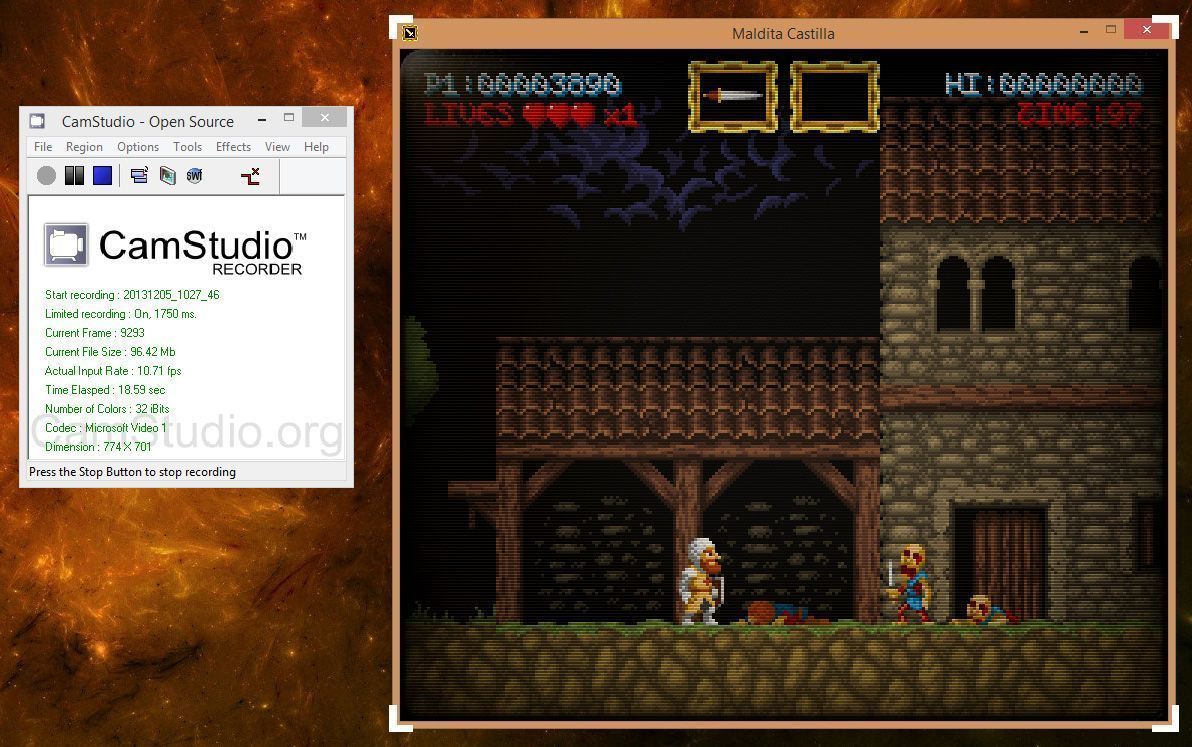
For desktop screen recordings, 15 fps per second should be enough, but if you want to record screen activity for your gaming sessions I highly advise you to set all your compression and quality settings to their max. Oh, and also make sure you have enough space on your hard disk, since the master video file can get quite bulky.
You can also capture audio simultaneously, whether it be what comes through your speakers, a microphone connected to your computer, or both, which means that if you’re making a video-tutorial, you can do the entire process at once.
To begin recording, click the record icon, then select the monitor zone or crop the window frame that you want to record and, finally, start to record. To end the recording, just click the stop button (you can also add start and stop buttons to that same taskbar, as well) and it will ask you where you want to save the file.


