Gamers who are emulator fans tend to come across the same problem over and over again. How to organize the hundreds of emulators on your disks, which ends up being a hugely boring task especially when you consider all of the ROMs and disk units involved. In an attempt to solve this problem, and avoid your emulators from getting too messy, EmulationStation puts everything in one place. It’s a frontend with one of the best interfaces out there today. Even though the process of setting things up can be tedious, the results are very well worth it.
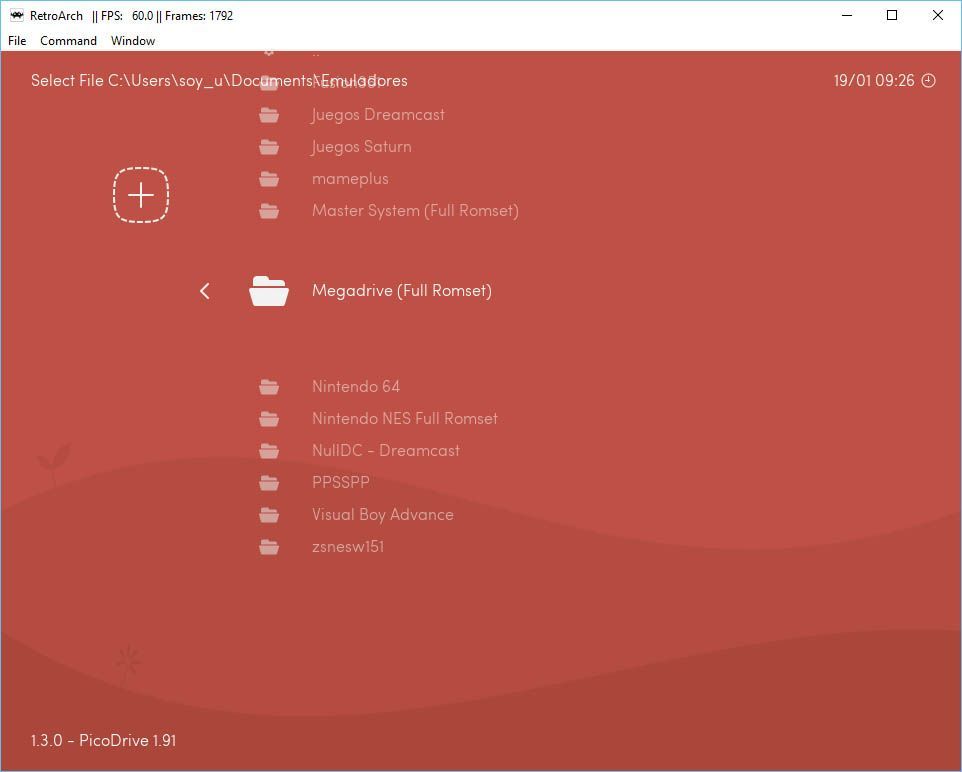
For starters, don’t forget that EmulationStation only offers you the front end. It doesn’t include any emulators, so you’ll have to manually configure each emulator on your system for each of the supported platforms. Taking a step by step look, once you install EmulationStation, you’ll have to go to the main settings file and type in each of the routes for the game and emulator you want to run. You’ll find these routes in your user file if you’re using Windows which is:/users/<name>/.emulationstastion/es_systems.cfg. You can open it with any text editor, including notepad. It should look something like this example that is included when you download EmulationStation:
<systemList>
 <name>nes</name>
 <fullname>Nintendo Entertainment System</fullname>
 <path>~/roms/nes</path>
 <extension>.nes .NES</extension>
 <command>retroarch -L ~/cores/libretro-fceumm.so %ROM%</command>
 <platform>nes</platform>
 <theme>nes</theme>
 </system>
 </systemList>
It’s not too hard to get: Name es the name that you’ll call the ‘batch’, Fullname is the specific name that appears on the menu, and path is how you should call the route where you’ll find your roms within EmulatorStation, which is why you won’t need to specify the root. Extension is the format used by roms, command is the route for the emulator that you want to launch. For platform and theme ideally you should type in exactly the same ID from the list of available consoles on EmulationStation website for the console you’re using.

The only part that could present a problem is command. You’ll need to type in here the route for the executable file for the emulator you want to use. In the example, we’re taking a look at RetroArch, which we talked about earlier because of it’s huge collection of emulators in just one single pack where we can configure everything relating to the control system and graphics without having to stop at each engine separately. Right here on this blog, we explained to you step by step how to configure everything, so before continuing, it’s a good idea to have a look at that tutorial.
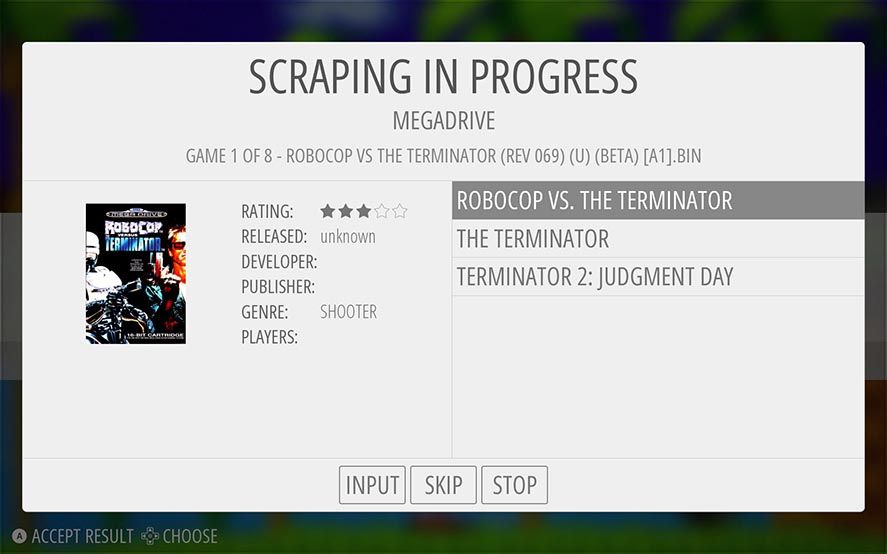
If all goes well, when you access EmulationStation, you’ll see a menu with all of the associated consoles (before setting up system controls, either on your keyboard or gamepad). When you click on the platform, you’ll come across a list of games that you put into the roms folder. Although, you’ll still have to configure Scraper so that all of the information for each game appears. To do so, click on the start button (or the equivalent key on your system) and you open Scraper > Scrape Now.
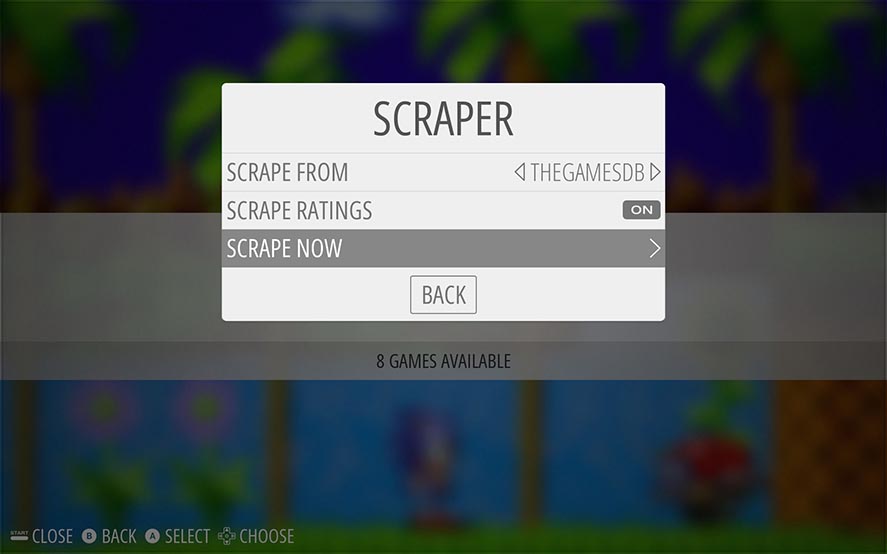
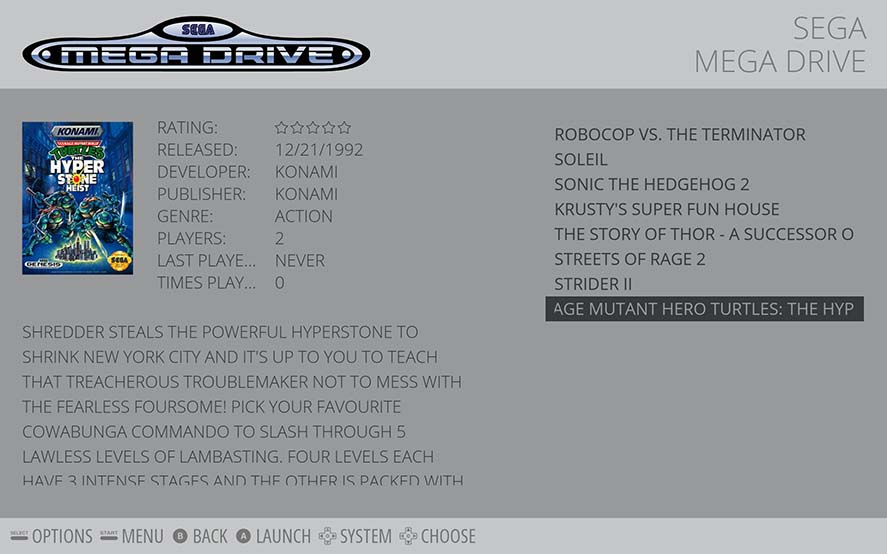
Afterwards, you’ll have to specify the exact name of each game among the ones that are available which is why I recommend you avoid typing in too many games at once. You’ll end up having to type in the correct name for each one. When you’re done your front end is going to look so sharp that you’ll end up browsing it just out of sheer admiration.
More information here | Official Website


[…] Read more Posted on February 5, 2017February 5, 2017Author marcs2016Categories apk free 2016 […]