The use of the Matroska container format is very popular given its status as a free standard that lets you include, in a single file, a video with several audio and subtitle tracks. The only problem is that many TVs or home entertainment centers cannot correctly read this system, and sometimes you can only access one of the included tracks. To do so, you’re going to learn to use the free program Avidemux to modify the content of your MKV videos and remove or include extra audio or subtitle channels.
How to remove audio tracks
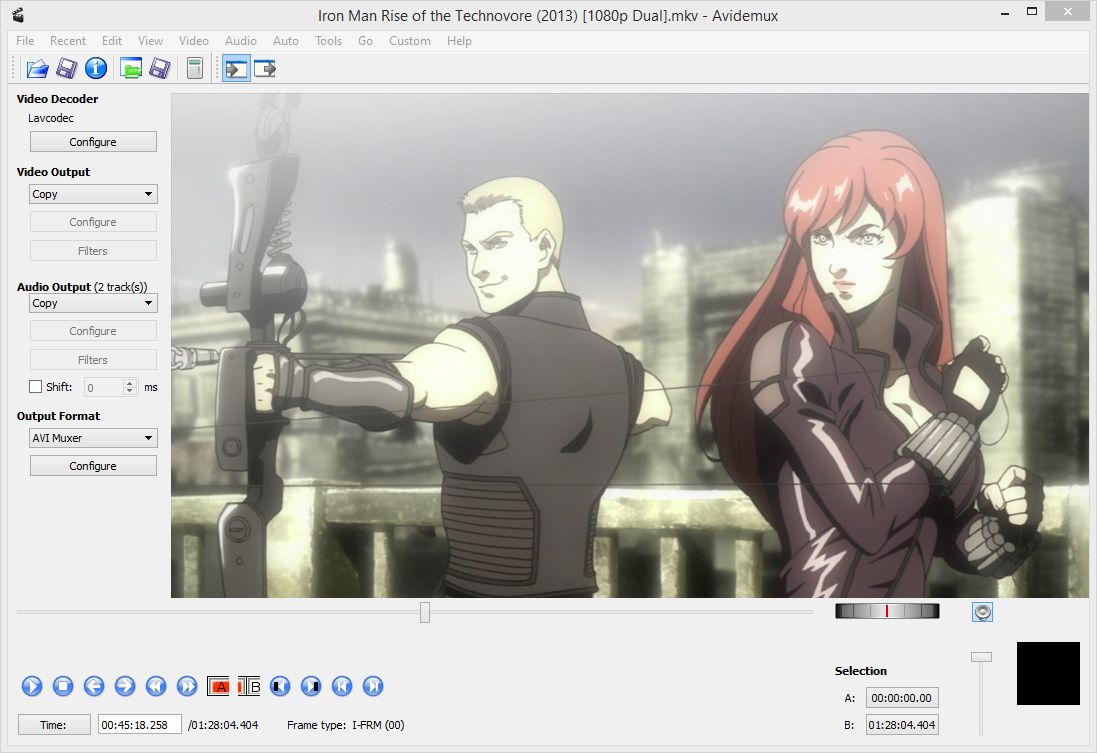
- Once you’ve installed and launched Avidemux, you’ll drag the video in question that you want to modify to the program window or select it from File > Open.
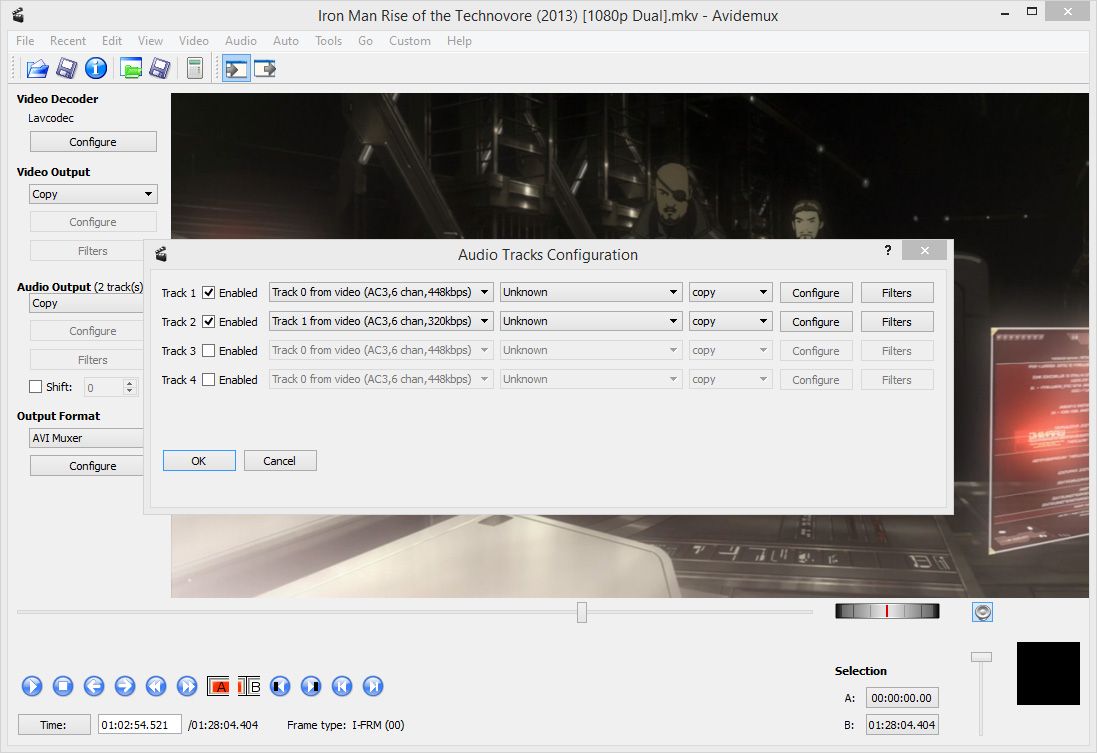
- Go to Audio > Select Track from the upper menu.
- In this section you’ll see all the tracks included in the MKV. If your multimedia player can’t detect several channels, you’ll have to delete all those that you don’t need by unticking the Enable box. Each of the tracks has an order number, so first you’ll have to untick boxes to get just the ones that interest you and then play the video from the program itself until you hear the desired language.
- Tick the desired container in the left column of the Output Format section. If you’ve left just one audio track with no subtitles, you can save it in AVI format. If not, you’ll select the Mkv Muxer container in the drop-down menu.
- Go to File > Save and in a few seconds the changes will be saved. It takes a little while not because the video is renderizing, but rather it’s adding or removing elements from the file container.
How to add subtitles
- Go to the Video > Filters section.
- Tick the Subtitles option on the left menu and you’ll see the active MKV subtitles if they exist, which you can delete or re-order as desired.
- To add external subtitles you’ll have to click on the SSA/ASS/SRT option, which are the formats supported by the program. Once you select their filepath, you’ll click on the Save Filters button in the lower left side of the screen. You’ll also be able to embed them in the video rather than include them separately inside the container.
- Finally, as in the previous section, you’ll select the container output format and click on File > Save.

Other modifications
Avidemux allows you to make many other changes according to your interests. One of them is the option to scale the output format. Many 1080p videos don’t play properly on certain players, meaning it’s a good idea to lower them to 720p (a resolution of 1280×720), which in many cases makes almost no difference when you’re viewing them on small screens anyway.
The program lets you do this automatically using the Auto > 720p option, where you’ll also have access to other preset formats that won’t require you to get mired down in selecting bitrate y codification options that are out of reach for some users.


how