The same thing that happened to PS2 is now happening to the first portable console from Sony in terms of the possibility to considerably improve the appearance of its games thanks to emulation. PPSSPP is the best PSP emulator you can find, and lets you play titles from that platform on both Windows and Android, among many other operating systems. Here we give you a tutorial on how to set up the emulator and get a much better visual quality than on the original console.
On the legality of emulation
Let’s make this clear: emulation itself is NOT illegal, especially when, as in this case, you don’t need an original BIOS for the console to run the emulation. What does raise questions is the provenance of the games you load. PPSSPP can read disk images for games in ISO, CSO, PBP, ELF, and PRX formats, even if they are compressed in zip format. Although it’s possible to rip the content of the console’s original UMD disks if you have a Custom Firmware installed, what’s certain is that on the Internet you can find communities with practically the full PSP catalogue available and already ‘processed’. If you want to keep a clean conscience the ideal would be to download the rips of only the titles you already own (although you probably know how these things go and the limits that tend to be crossed without too many regrets).

How to set up PPSSPP on Windows
The PPSSPP emulator is an impressive open-source initiative that lets you emulate titles from the portable Sony console on a host of different platforms. Although you’ll get the best results on Windows, there are also versions for Android, iOS, and OS X as well as unofficial ports for Linux, BlackBerry, Symbian, and a few others that serve more than anything to simply pique the curiosity given their low level of optimization.
The original native resolution for games on PSP screens is just 480×272 (although movies on UMD disks reach 720×480), but it’s true that the texture and processing capacity of 3D environments are detailed enough to still look good at higher resolutions – even to the point of finding few differences with what you’d see on PS3. NO KIDDING. In fact, even the HD reedits that are so trendy these days don’t top what you can achieve by refining the graphic configuration on the emulator. We’re going to focus here on the Windows version.

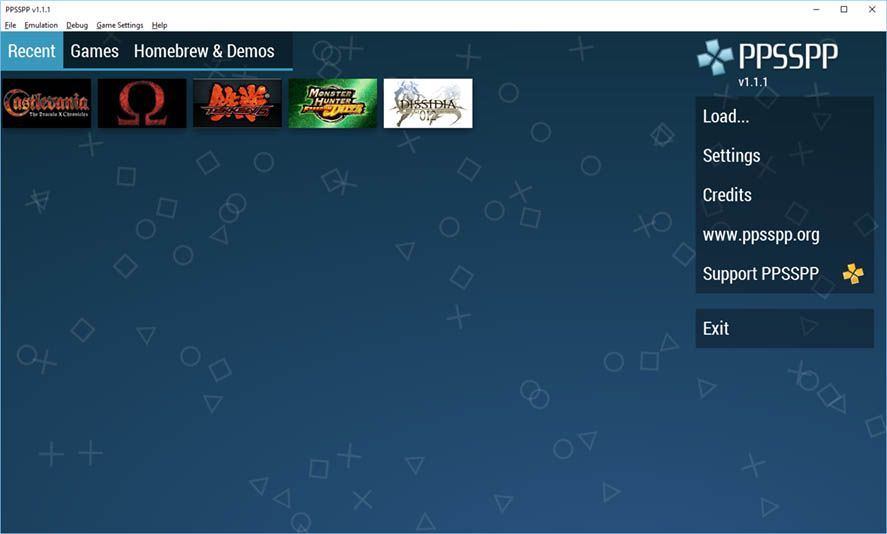
The main menu lets you locally load the image of your game, which once detected will go on to form part of your mosaic of recent titles with a similar format to what you’d see on a real PSP. The interface is designed to be used in full screen, and can even handle a gamepad instead of a keyboard, although most of the options are redundant and can also be modified from the upper bar in the window.
The best way to try out graphic changes is by loading the game and adjusting the options bit by bit to see how they affect the performance, which is what we’re going to do here. We hit Load and search for the image of the game we’re going to play. Then we pause the game and go to the top menu where it says Game Settings. Here’s a breakdown of everything you can change:

- Vertical synchronization: This makes the number of frames per second stabilize with the refresh of the screen. If it’s not activated you might get an ‘unreal’ flow in the game and on some cases even some tearing. Still, it’s more than advisable to leave it deactivated if you’ve got skimpy hardware capacity.
- Post-processing shader: This gives you an array of filters to improve and soften the viewing of images in high resolution. This is a matter of taste, but the one that offers the sharpest image is the FXAA. You also have to keep in mind whether the game is 3D or 2D. In the case of the latter it’s actually better to fully disable the shaders to enjoy those gorgeous fat pixels.
- Rendering resolution: Here we need to insert a small aside, as the resolution is not the same thing as the rendering resolution of the image being broadcast onscreen. It’s quite absurd to set it to more than 1080p if that’s the resolution of your monitor when you put the image in fullscreen. The possible options are based on multipliers of the original resolution, so a 2x rendering offers an output of 960×54 (with the original at 480×272). Keeping in mind that certain shaders require extra resolution, with 4x you should be more than satisfied.
- Window size: Not much to add here. You can skip this section if you’re going to play in fullscreen.
- Graphic engine: By default OpenGL is ticked, but most of the time performance will be better with DirectX9, especially if you have AMD hardware. There’s no harm in trying the alternative, of course, but it’s still quite green.
- Rendering mode: Leaving buffer rendering is essential if you apply a post-processing shader. If you’re tight on hardware you can opt to jump the buffer effects and get a bit more resolution to hide the saw teeth, although in many cases this could prompt serious viewing problems in your game.
- Jump frames: Not very advisable for how terrible the lack of onscreen images per second can turn out. Also, it has a negligible impact on the general performance of the emulator.
- Texture filtering: We’ll leave this on automatic and close if the game is 2D so as not to smudge the sprites. There’s not much you can do in 3D to improve the viewing of the typical superimposed flat HUD.
- Screen scaling filter: The viewing of the scaled image on your monitor can also be softened as it doesn’t coincide with the native size. Use linear mode for 3D and close mode for 2D.
- Texture scaling: This lets you go even deeper into textures to improve them if they’re in low resolution and are very close to the camera. Here you should mess around a bit until you find a balance between quality and performance, as every title is a world unto itself. With 2x and the xBRZ filter you should be more than good at 1080p.
But that’s not all. In the graphic settings menu on the emulator itself (or in the tab Game settings > More options in the upper menu) you can find even more options along with the ones already mentioned. Here are some of the most relevant:
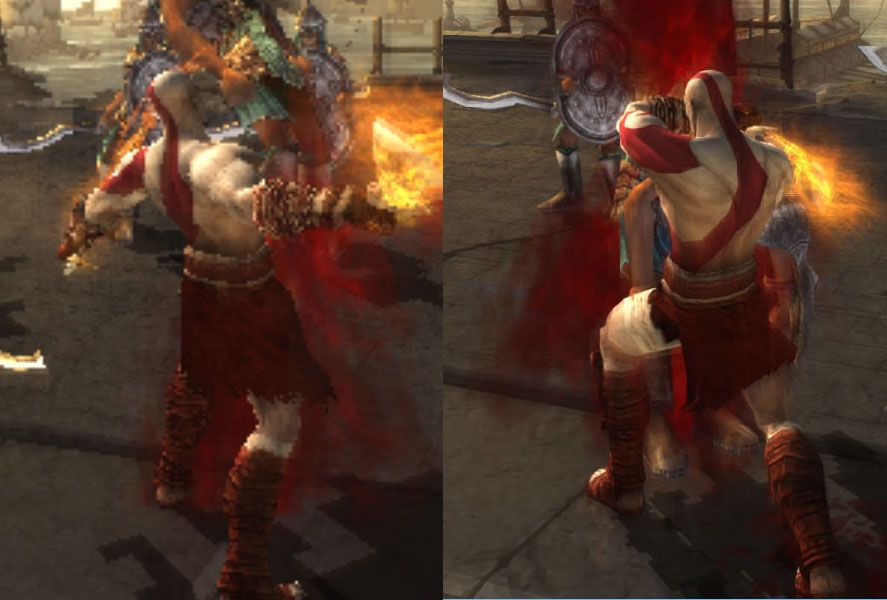
- Force maximum 60 FPS: Essential to play the God of War titles correctly to fix a problem with ghosting and framerate reduction.
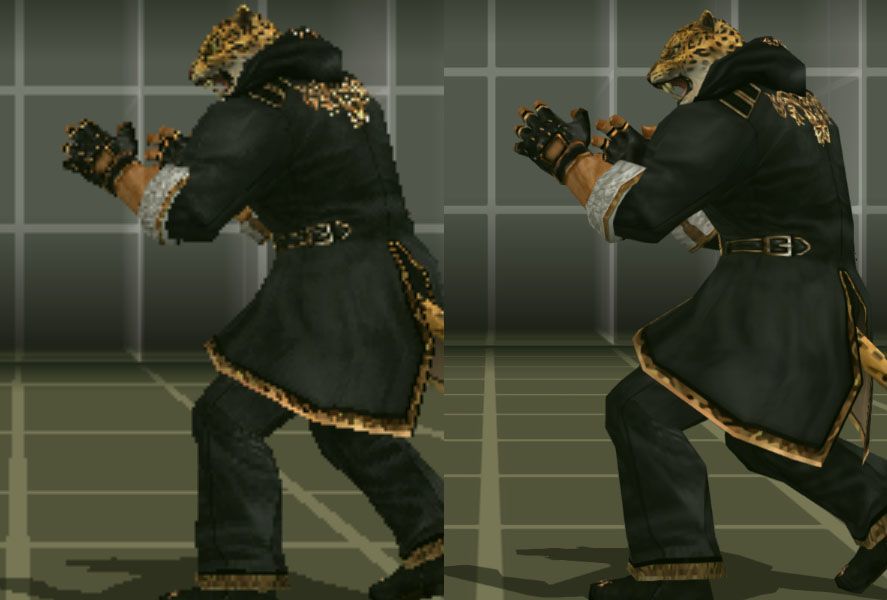
- Software skinning: Another deactivated option that enormously improves the performance of certain games, mainly Final Fantasy Crisis Core, Final Fantasy Type 0, Tekken 5 and 6, and Parasite Eve 3rd Birthday.
- Bézier curve quality: Deactivating this improves the performance of the LocoRoco and Gods Eater titles.
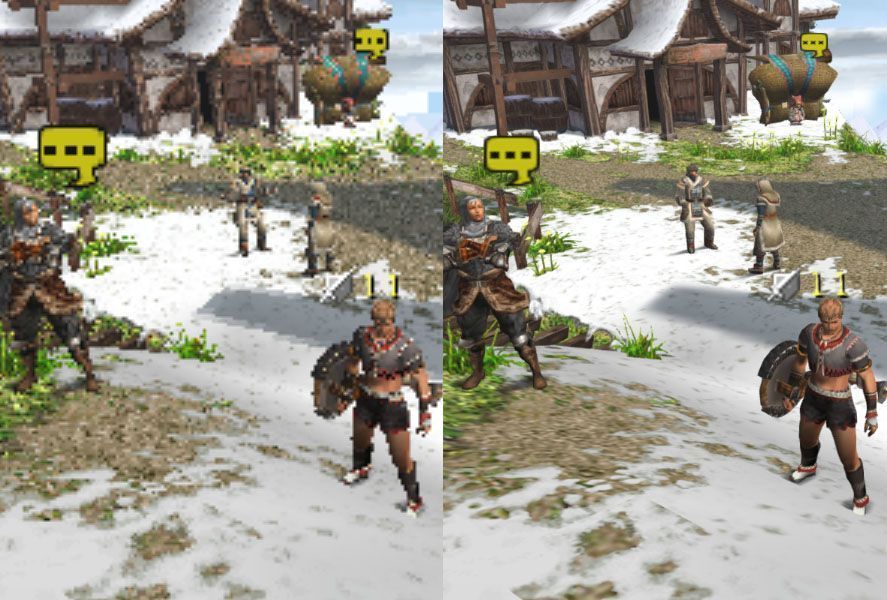
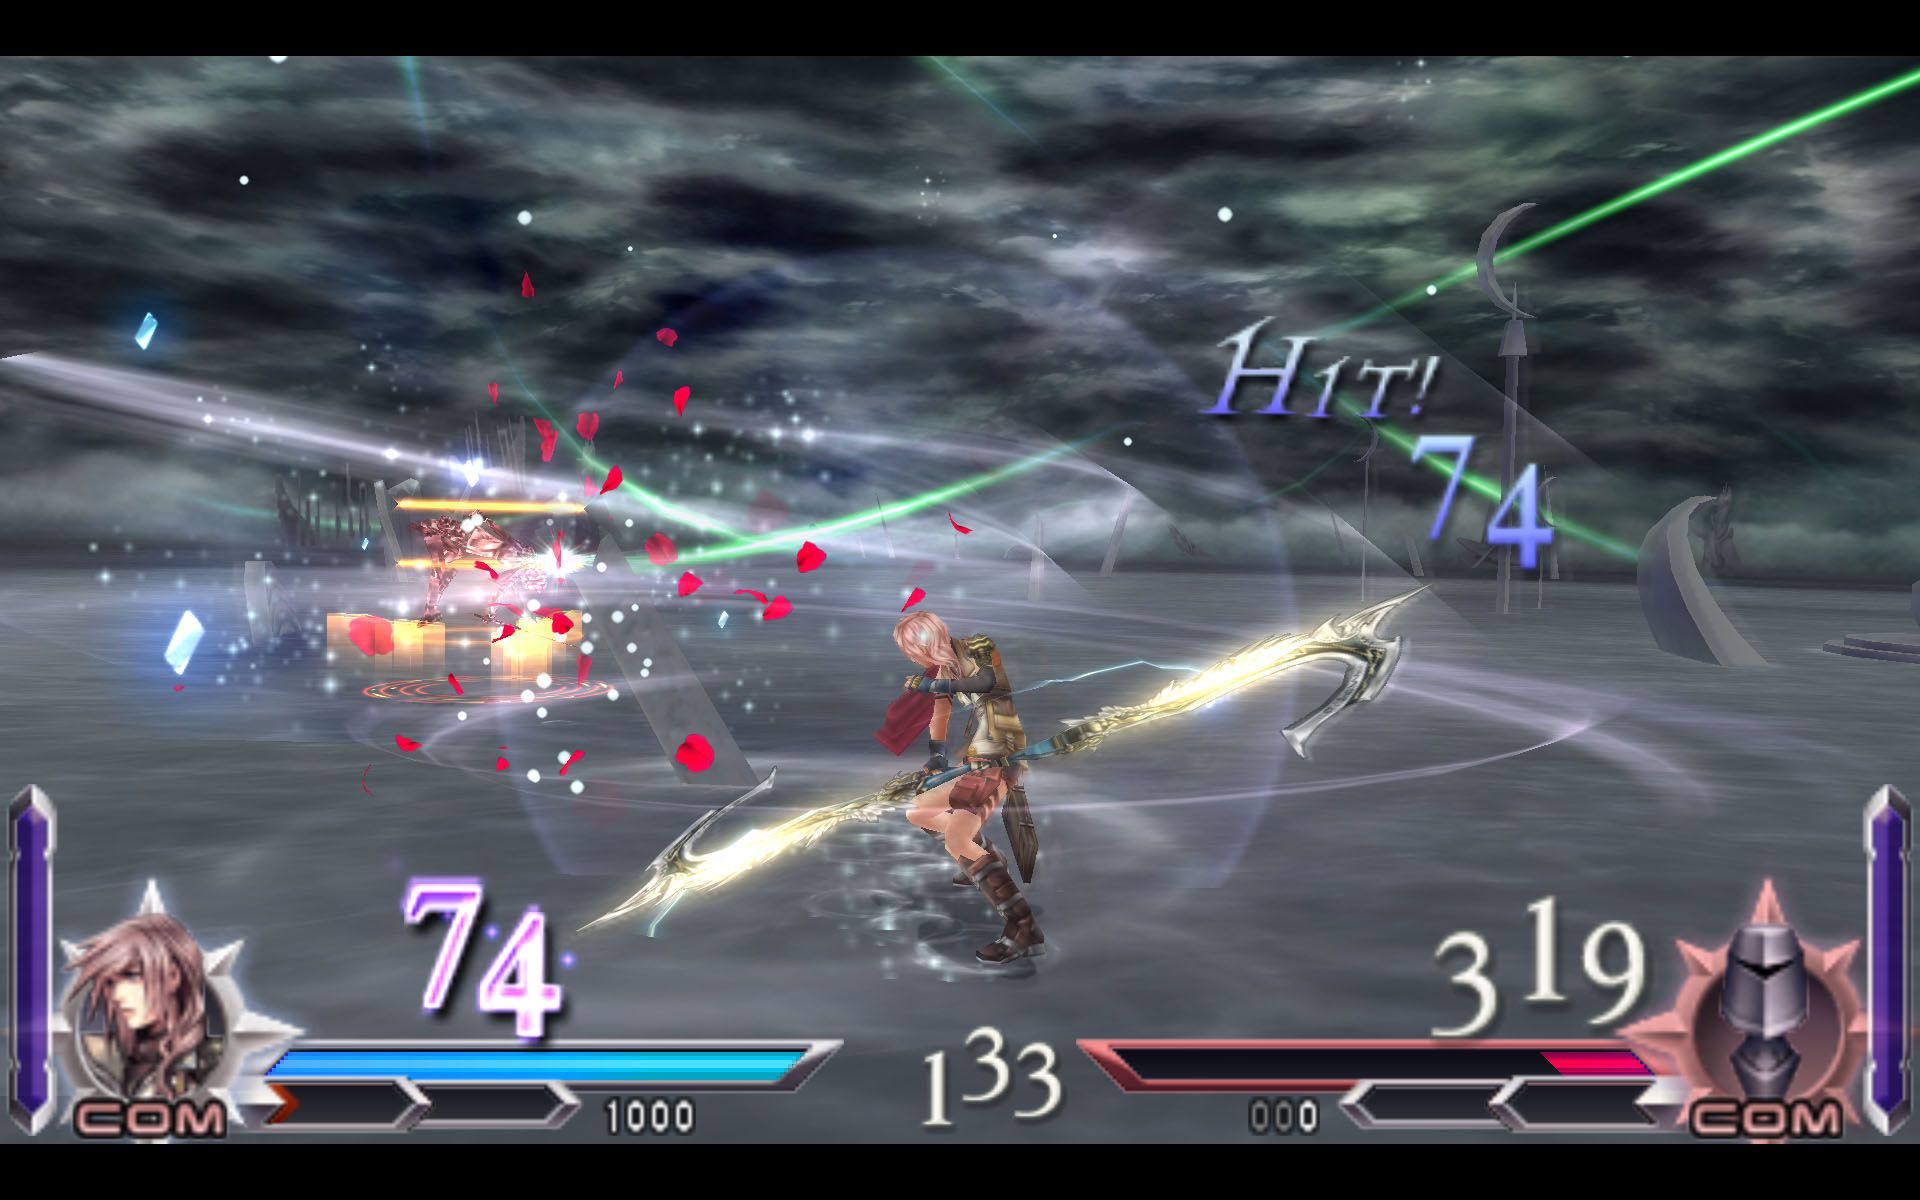
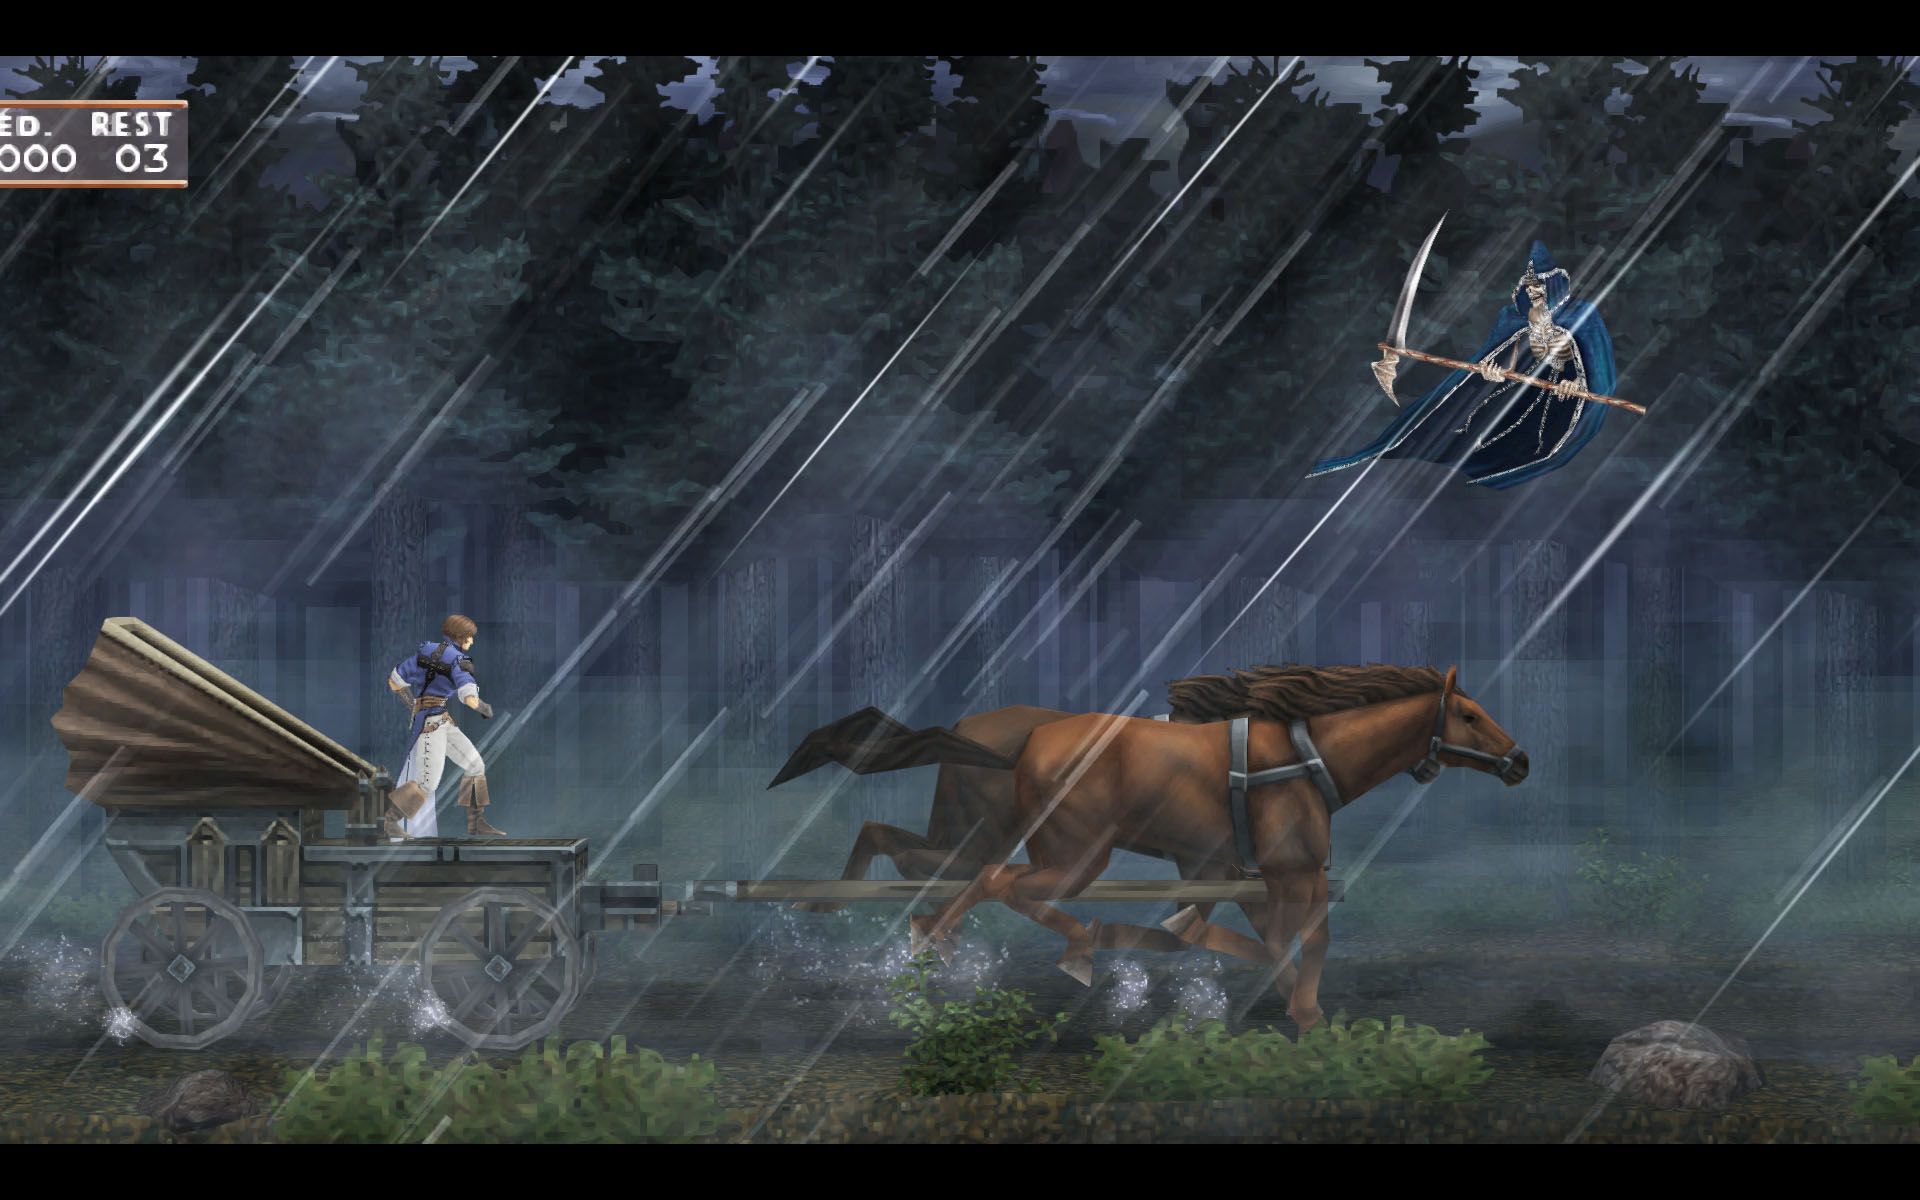
Fiddling with all these options can achieve tremendous results with nothing to envy the later generation of consoles. Together with a 360 gamepad, the emulator can bring the full PSP experience to desktop machines. Here are some examples of the improvement:


thanks for the trick and tips, its so usefull for me :)
How is the ideal set up for PPSSPP in Android, best balance between graphics and speed?, Thanks a lot !!!
thank you so much ! really helpful :)
[…] a high-range smartphone or tablet to run certain games well. Recently we explained in a blog post how to set it up to get the most out of it. […]
i have 8 gb ram in laptop so why ppssspp working very slow