One of the great sorrows of the digital age lies in trying to play vertical videos on panoramic screens, something that usually only the vilest techies with the blackest hearts can manage to do. The two enormous black strips on both sides of the film can be terribly repulsive, but luckily there are tricks to “clean up” this problem by applying a series of effects at a later stage. We’re going to explain here how to add an adaptable, blurred background to your videos using the free tool VideoPad Video Editor.
- The technique applied is commonly used in the media. To give an obvious example, when image files with a 4:3 resolution are broadcast on TV, this tactic tends to be used: that is, filling up the extra space with a widened, blurred layer of the video itself, making the view less shocking without having to turn to much worse methods like applying a zoom, with the resulting loss in quality.
- You’re going to open the program and by default you’ll already have created an empty project. You’re going to import your video, having already copied it to your PC from the recording device, be it a digital camera or smartphone. To do so, click the “Add File” icon in the upper toolbar or drag it from your file finder window to the space at the left of the program interface.
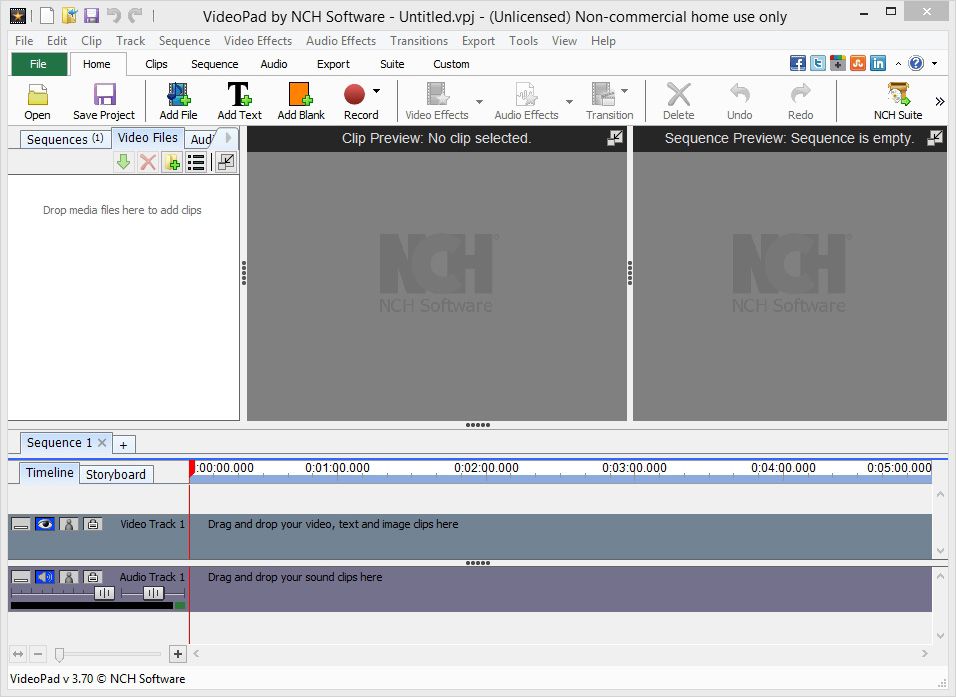
- By default a video track and an audio track will be created. To add the video to the track you just have to drag it from the program’s “Video Files” space to the track in question, situated in the lower part of the screen.
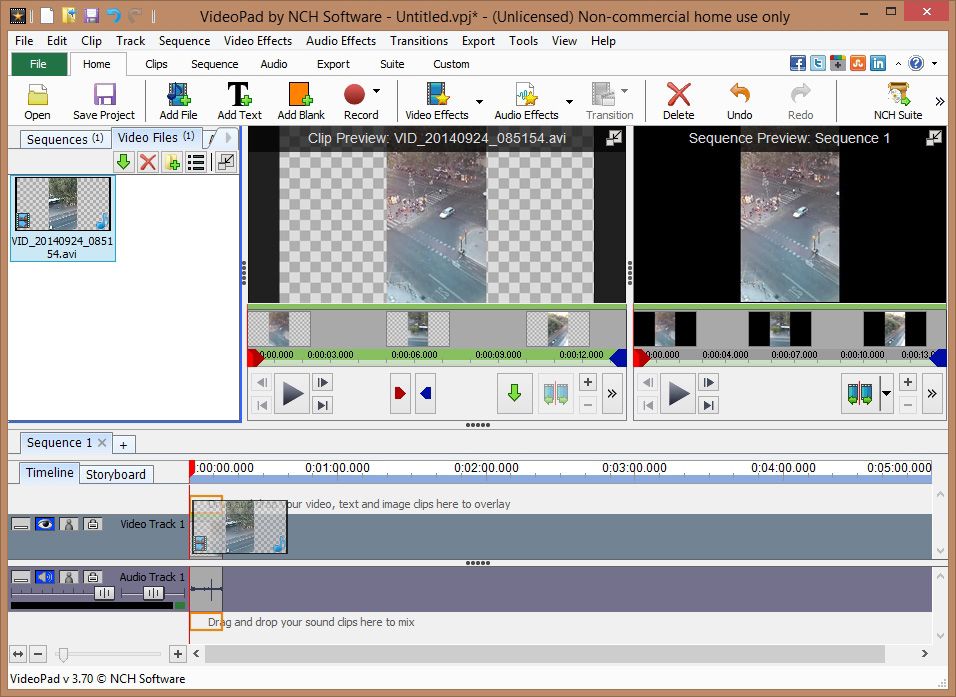
- Now you’re going to create a second track that will function as the lower layer of the video itself, where a modified version of the superimposed film will play. To do this you’re going to do the previous step again, dragging the video file to the lower track sequencer, only this time you’ll do it in the space immediately beneath the already-existing tracks. This will create two new tracks (one for video and one for audio).
- As you now have two identical audio tracks, you’re going to select either of them and untick the blue speaker icon to silence it so the sound doesn’t get too saturated.
- Now you’re going to modify the lower layer (the lower its position on the timeline the further “back” the layer, using the same concept as the one from editing suites like Photoshop). You’re going to click on said track and then click on the “Video Effects” icon in the upper bar.
- The effects window will open, and you can add new ones by clicking on the “Add effect” button in the upper left corner. The first thing you’re going to do is “Scale” to resize the video and adapt it to the width of the video. In the context menu that appears you’ll set the length-width proportion to the maximum (300.00) and click the Apply button.
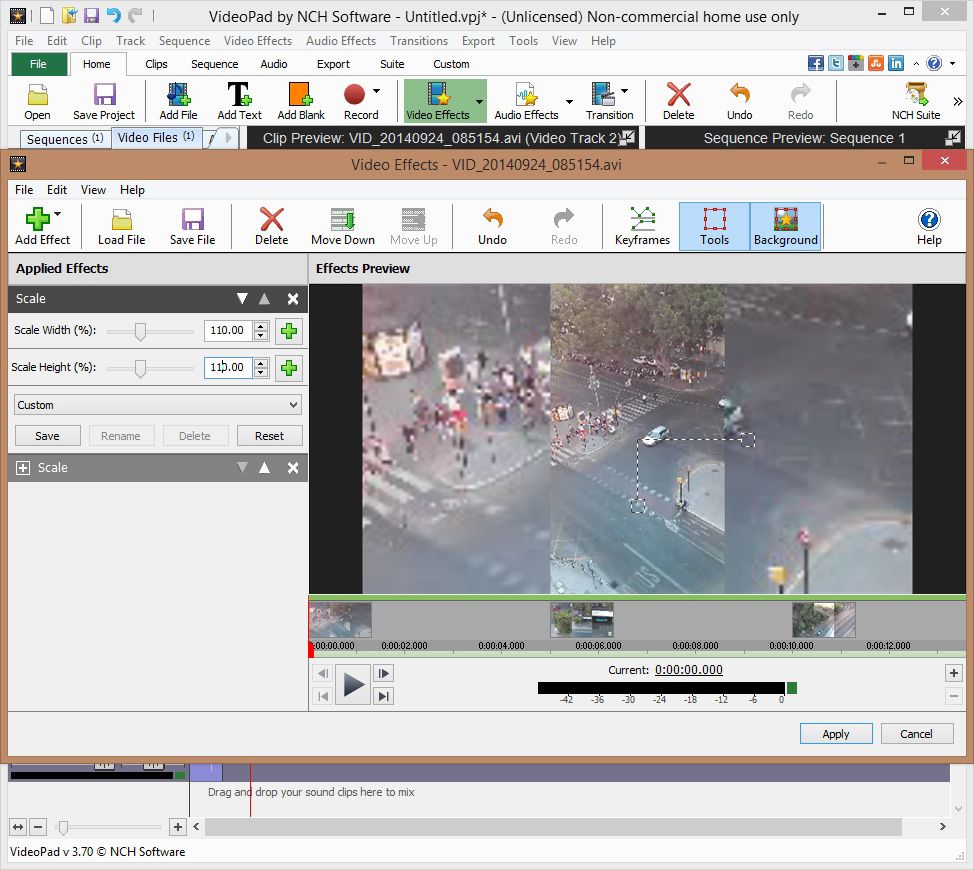
- If you view the video preview, you’ll realize that the image doesn’t reach the borders, and thus you’re going to apply the effect again, although this time you’ll just need to set the Scale Width and Scale Height to 110.00. You’re going to click Apply again, and now your background video will indeed be adapted to the side borders.
- Finally, you’re going to blur the background video so that you won’t notice the loss of resolution from scaling it, in this case selecting the Blur/Sharpen effect. You’ll move the sliding Blurriness bar to the desired position using your preview as a guide. In our case, a value of 15.00 is more than enough. Then click Apply.
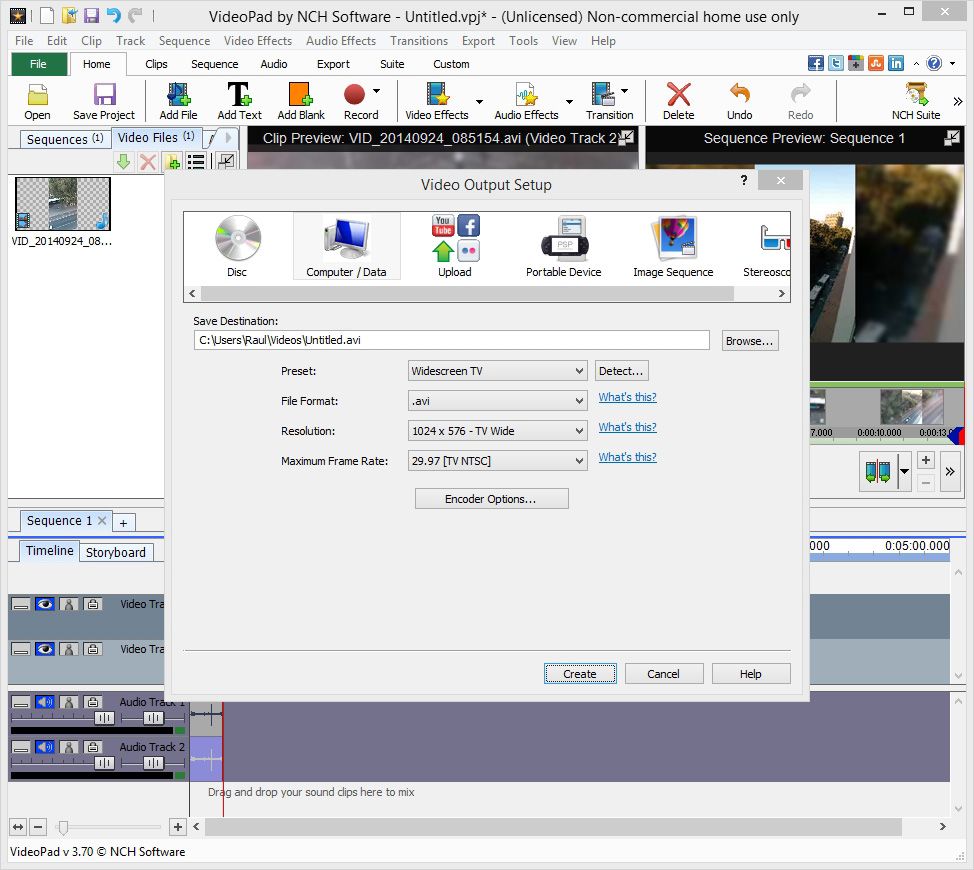
- All that’s left is to save the resulting video. To do this, go to File > Export Video and you’ll see the various options. Select the desired format, resolution, and frame rate for the output file and then click on the “Create” button. Voilà!


ok
oi
musa